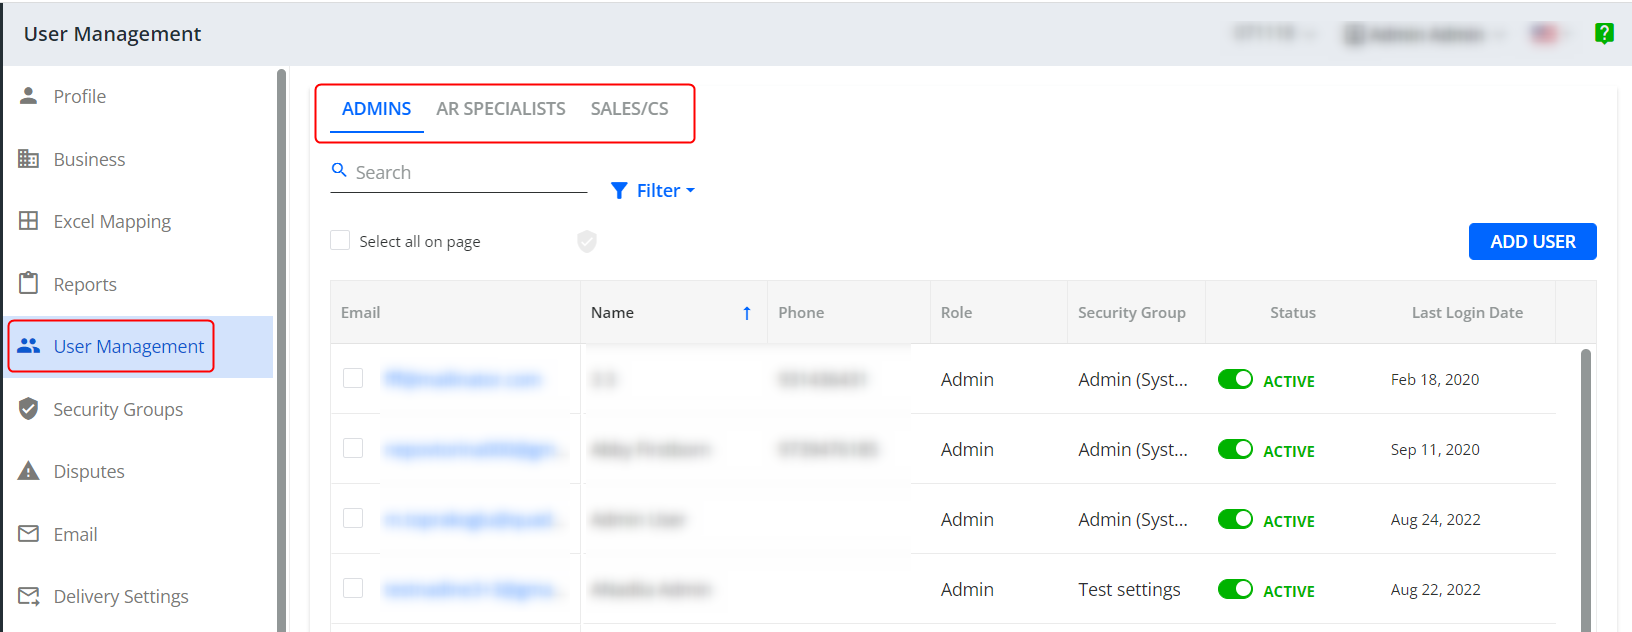
Go to Settings | User Management to add new users, update existing users, and make the users active/inactive:
There are 3 different User Types that you can create and maintain in YayPay:
- Admin - This user type has the highest level of security and access by default to all functionality within the instance provisioned, including the Settings page and submenus
- AR Specialists - This user type is for the AR Specialists / AR Reps who will use the system frequently in their daily work. These users can access most functionality except for the options under the Settings page (reserved for Admins to perform the setup/configuration)
Sales/CS - This user type is for your internal colleagues, e.g. sales or customer success colleagues and you want them to be able to access and review the customers they are assigned to in YayPay, as well as to be included in other workflow events/actions.
User Management - Options
Add a New User
To add a new user:
- Go to Settings | User Management in YayPay.
- Select the tab of the user type you want to create (Admin, AR Specialist, Sales/CS).
- Click on the ADD USER button to open the Add User dialog.
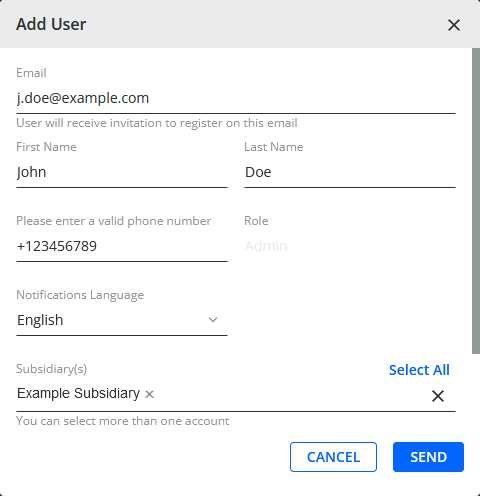
- Fill in the required fields to create the user account. YayPay will use the email address to send a registration link for the user to complete it.
- Use the Subsidiary(s) field to assign the user to the appropriate subsidiaries (if there are more than 1).
-
Click on the Send button to create the user account.
Additionally, YayPay may send a one-time system-generated registration email invitation to complete the user registration. This invitation does not include Quadient Hub.
The user account will remain in the Pending status until they complete the registration and access YayPay. It becomes Active after that. - Select the new users and click on the Create login button.
If the user does not receive or notice this email, they can contact the Hub Support Team at support@quadient.com. - Coordinate with your SSO or Security Administrator (or IT department) to ensure that new users also have SSO enabled. This applies even if Single Sign On (SSO) is already enabled for your YayPay instance.
NOTE:
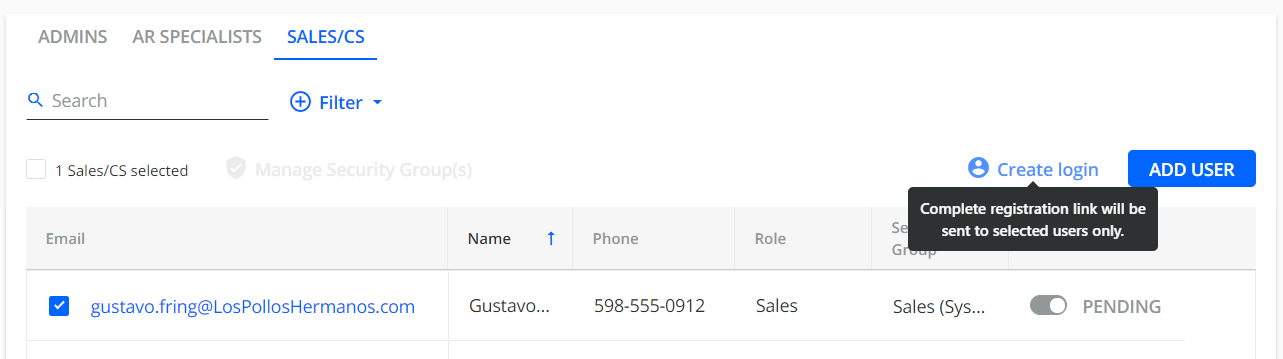
- For Sales/CS users, there is no registration process (i.e. these Users will not receive an email registration). The User Account status will change from 'Pending' to 'Active' as soon as they click a specific data tag/link reserved for them to access YayPay.
- Arising from recent platform enhancements, if you do wish to create a YayPay login for your Sales/CS Users, there is an additional step to do after adding them as a new User. Select the appropriate User and then click on "Create login".
- There is no requirement for your Sales/CS Users to have accessed YayPay in order for you to assign them to the Customer/Account in YayPay. Based on the User Account created, you can already start to assign the Sales Rep to the Customer using a Group Action via the Aging Report (see Article link), or via the internal Statement Page (for the Customer).
- To start to notify your Sales/CS Reps about the Customer/Accounts in YayPay, use the Sales Aging Notification process (See Article link).
Edit a Current User
To edit the account of an existing user:
- Click on the Edit icon of the user whose account you want to edit to open the Edit User dialog.
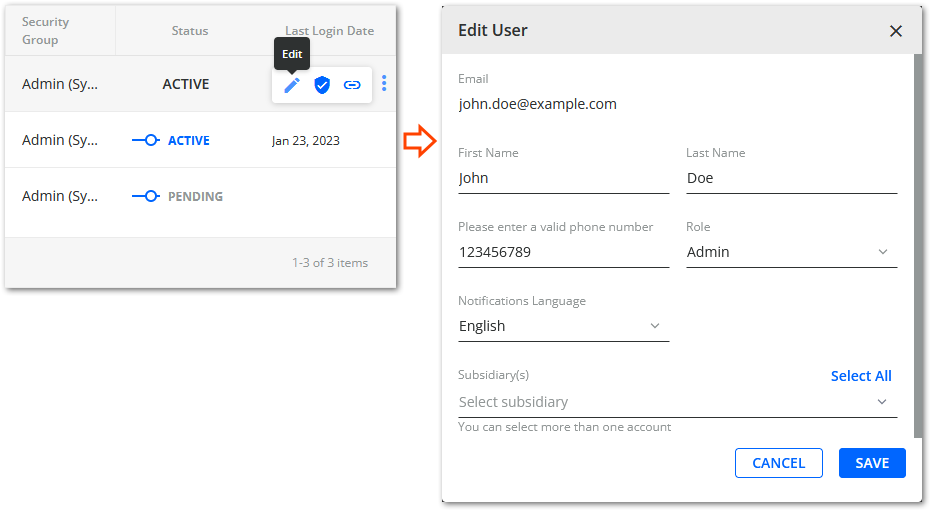
- Use the dialog to edit the given user's account (e.g. change the user's last name, phone number, or grant he user access to additional YayPay instances / subsidiaries).
Edit a User Role
The following types of users can change users' roles:
- Admins - Can change the role of every type of user (other Admins, AR Specialists, Sales and Customer Success users).
- AR Specialists - Can change the role of Sales and Customer Success users.
If you change the role of a Sales or Customer Success user, the following may happen:
- If the edited user is assigned to any customers in the current YayPay business, clicking on SAVE prompts you to reassign the affected customers to a different user.
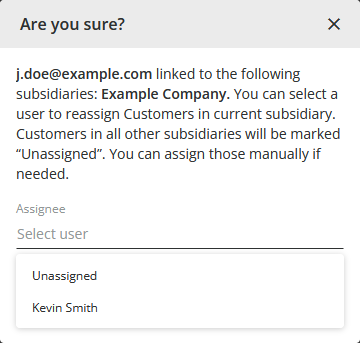
- If the edited user is assigned to any customers in other YayPay businesses, the user is automatically unassigned from those customers. You must reassign users manually to the affected customers in the other YayPay businesses.
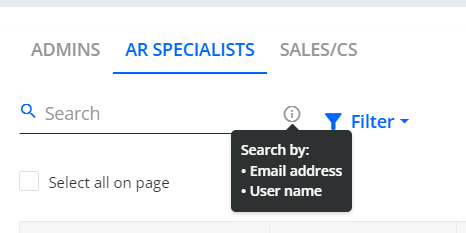
Search for a User
Enter any part of
- Email address
- User name
in the search field to look up the User Account:
NOTE: User Accounts appear sorted by Status then by name in alphabetical order.
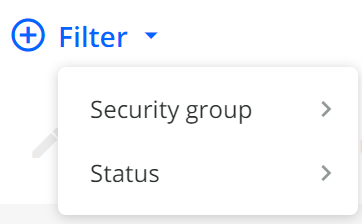
Filter options
You can also filter the list of users by security group or status, as well as a role for Sales/CS
Assign or Change Security Groups
Select the user(s) first that you want to assign a Security Group to, then click Manage Security Group(s)
Select the Security Group you want the User Account(s) to be assigned to or select the "Reset to the default Security Group" option:
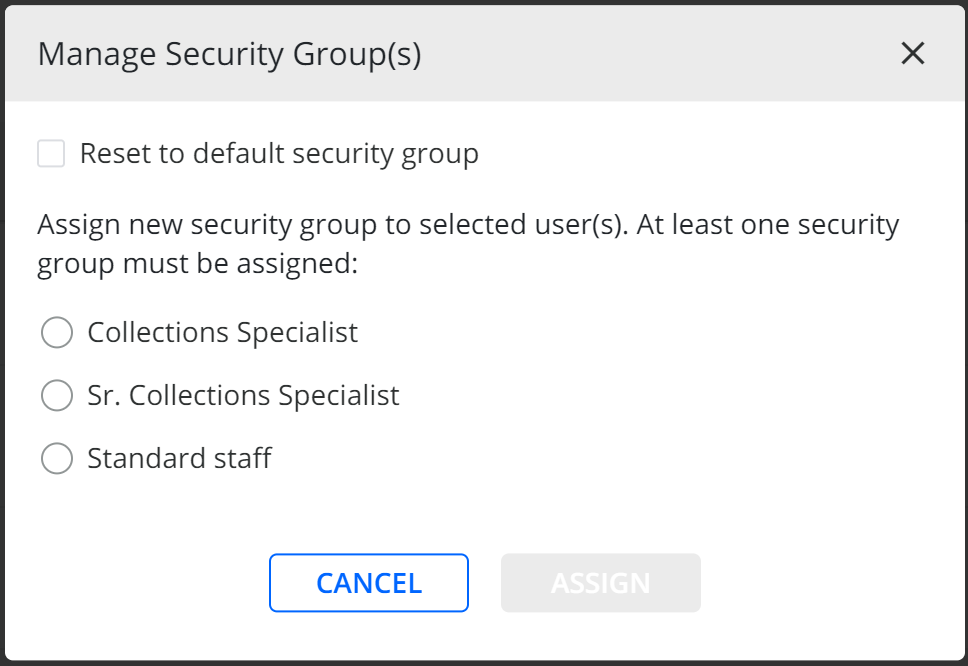
Security Groups are created under the Settings > Security group page in YayPay (Refer to this Article link).
NOTE: If you change a Security Group for a user, that user must first log out and return back into YayPay for the changes to take effect.
Manage Sales/CS Manager
Admin/AR specialist can assign a manager to Sales/CS user(s). The manager is selected from Sales/CS users, and he is able to access aging and all the accounts assigned to his subordinates (not being directly assigned to them) as well his own customers' accounts. A hierarchy of up to two levels is provided so that there can be first-level managers and top-level managers.
- Top manager level user = the user has at least 1 first manager level subordinate
- First manager level user = the user has at least 1 Sales/CS subordinate
- No icon = the user has no subordinates
The manager assigned to a user is displayed in the "Assigned Manager" column.

To assign a manager to Sales/CS users:
1) Select the user(s) first that you want to assign a manager to
2) Click "Manage Sales/CS Manager"
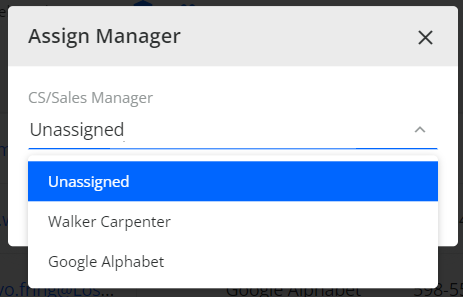
3) Select the name from the dropdown list in the appeared pop-up and click ASSIGN:
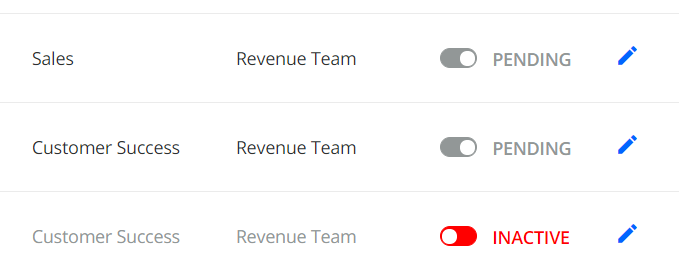
Inactivate a User
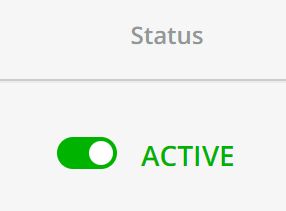
Click the slider to change the status from ACTIVE to INACTIVE.
If the User Account to be inactivated is already assigned to different Customers/Accounts, you will be prompted to reassign the User first.
In order of display, Users who are Active will appear first on the page, followed by those with Pending status, and finally Inactive.
You may need to scroll down the page/advance to other pages to view all User