This article explains how to use the Swagger UI and how to connect to your YayPay development instance to test a few /GET or /POST API calls.
To try out the APIs, use our Swagger Developer API UI as a sandbox. Note that there is a separate Swagger UI for production with a different URL.
Authorization
On the Swagger UI page, you can initiate API authorization by clicking on the Authorize button.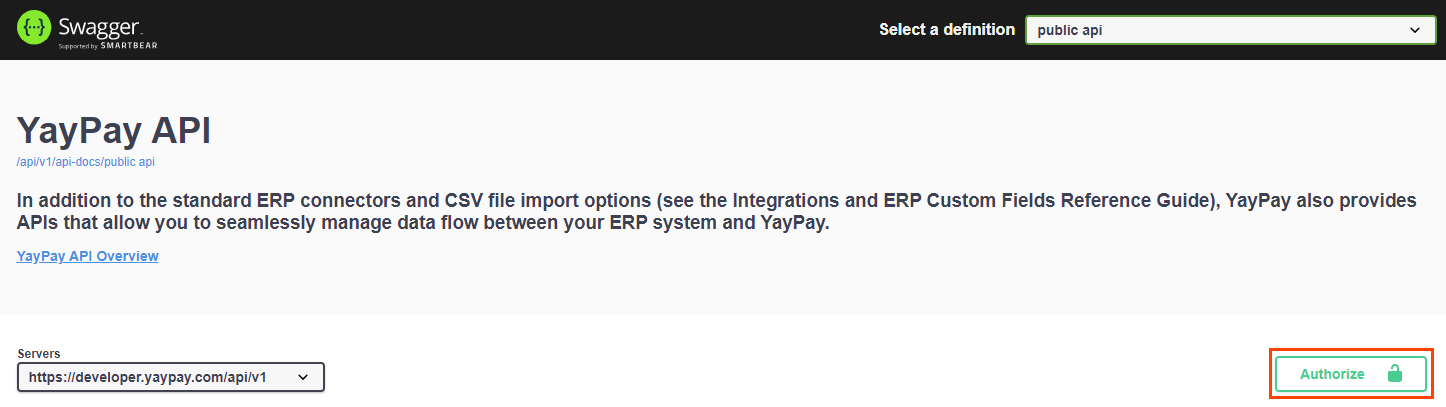
Then, enter the client_id and client_secret fields for OAuth. Additionally, select the required access levels in Scopes. By selecting a scope, you will define what the client is allowed to do with the data using API calls.
Once you have specified the credentials, click Authorize.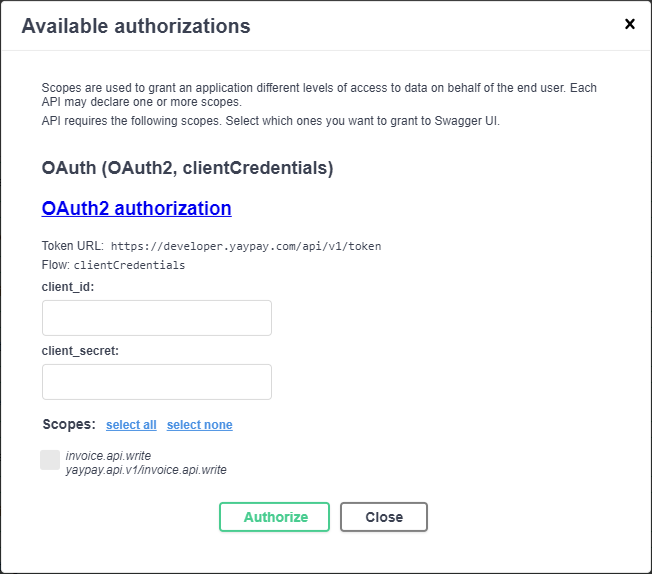
Start transaction
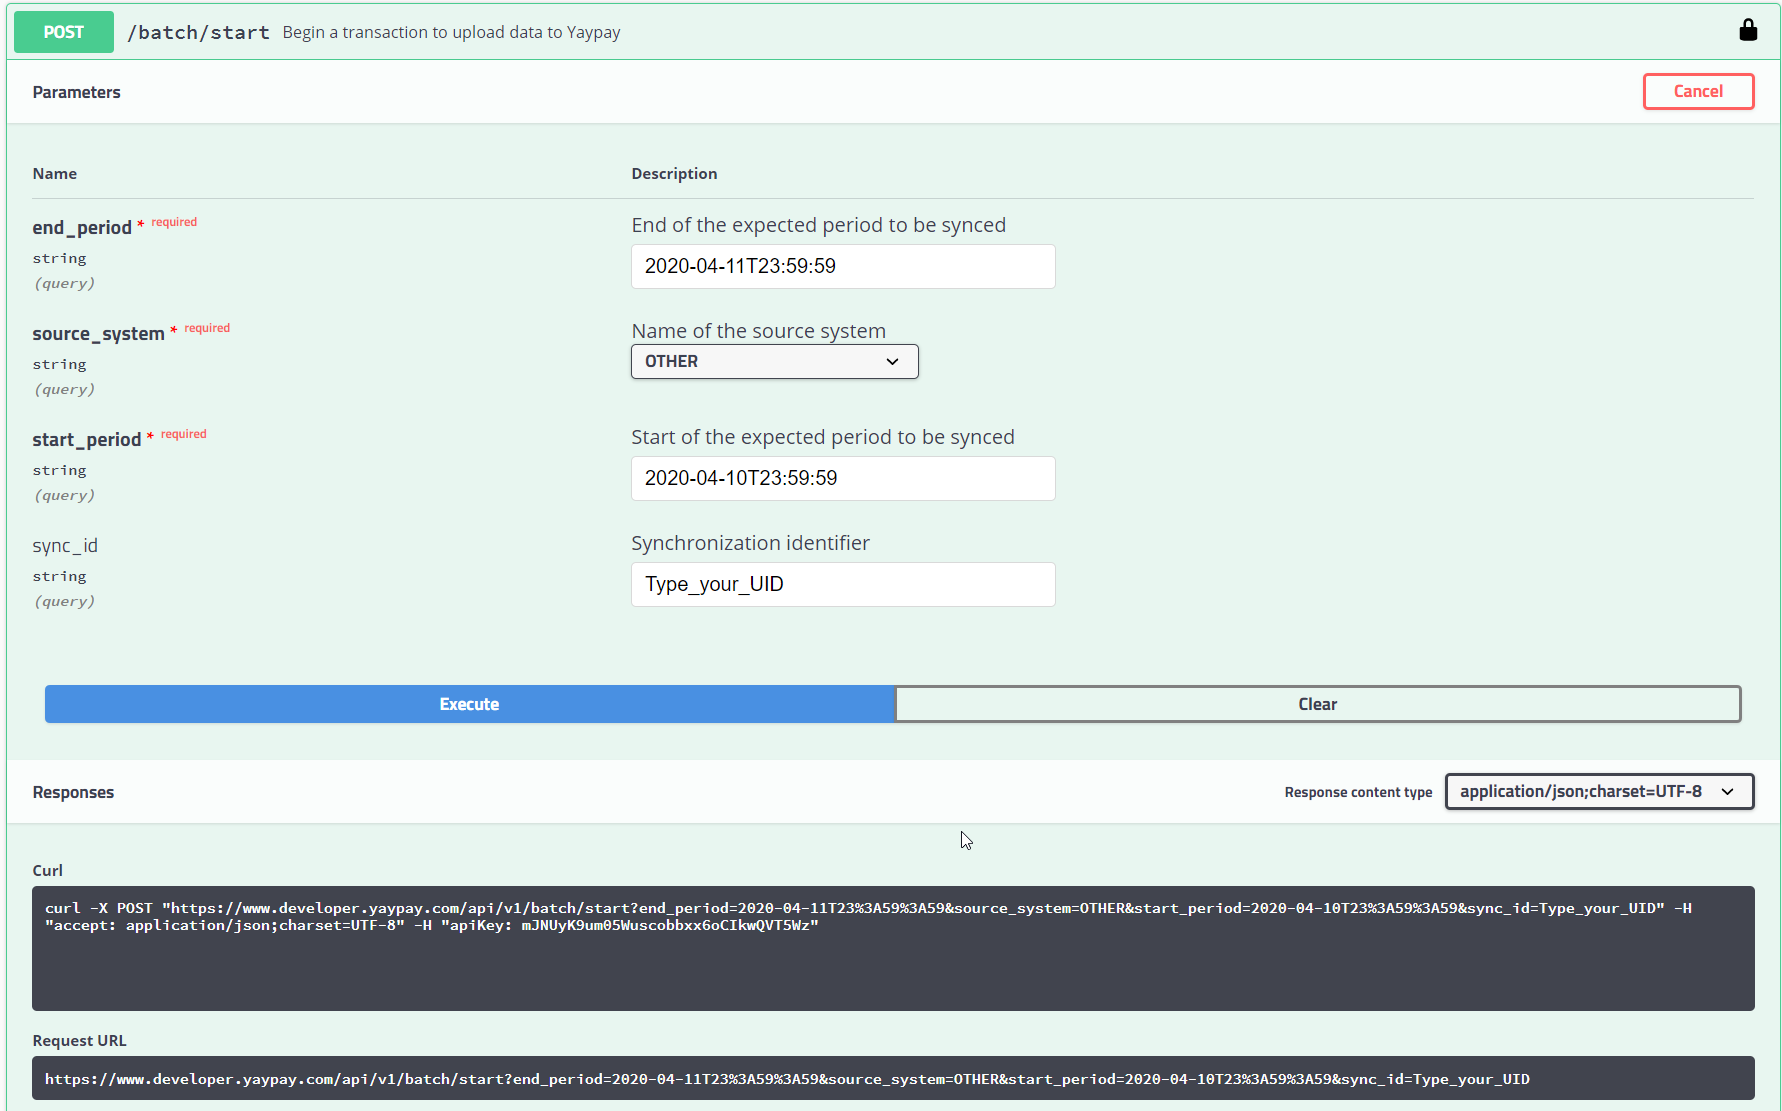
Start the Request using /batch/start to begin a transaction to upload data to YayPay.
- The start_period and end_period define the time range of when the new records and updates occurred in. For example:
- If your invoice data was created on 3/31and you choose the period 4/1 to 4/15, the Invoice record will not be added to YayPay since it falls outside the time range
- If there was another Invoice record (e.g. it is partially paid on 4/3), this record will be included in the API request
- Use "OTHER" for the Name of the source system
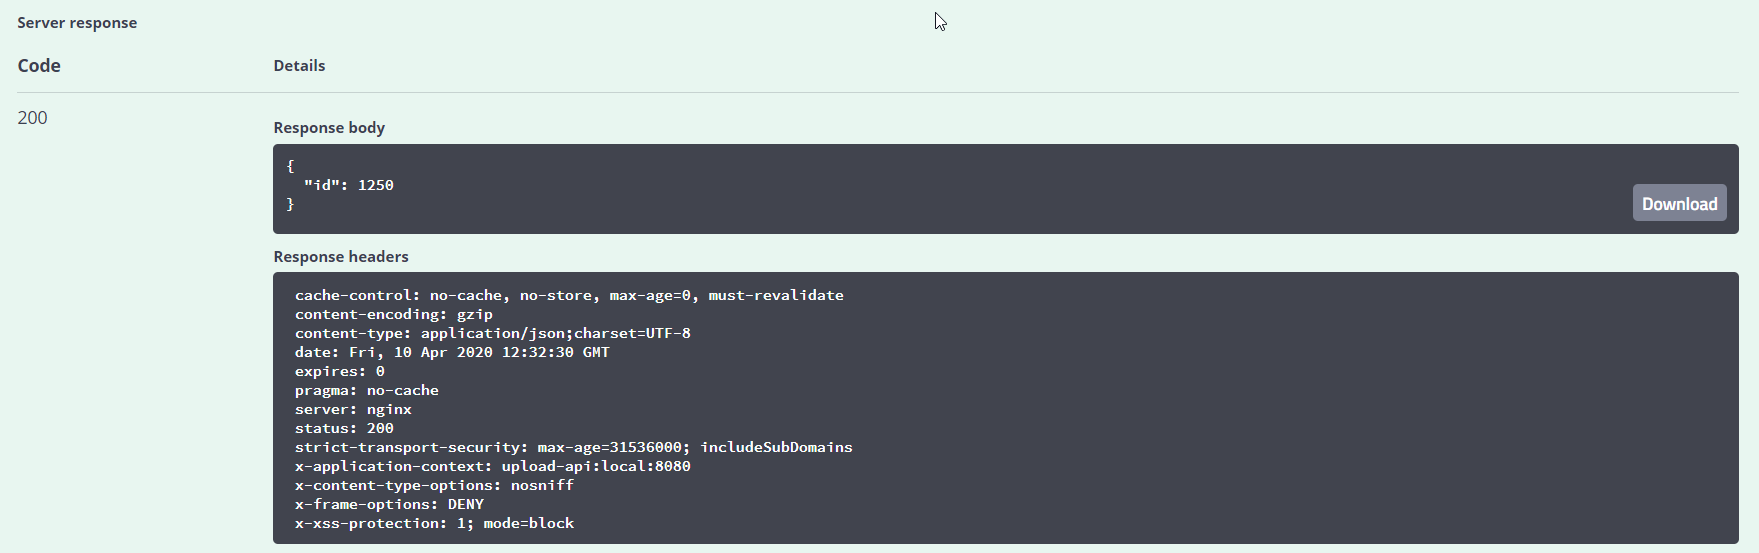
The successful Request will contain a transaction ID (in the Response body).
Take note of this transaction ID as you will need to use it for other further Requests. It is mandatory that you use this same ID for all Requests.
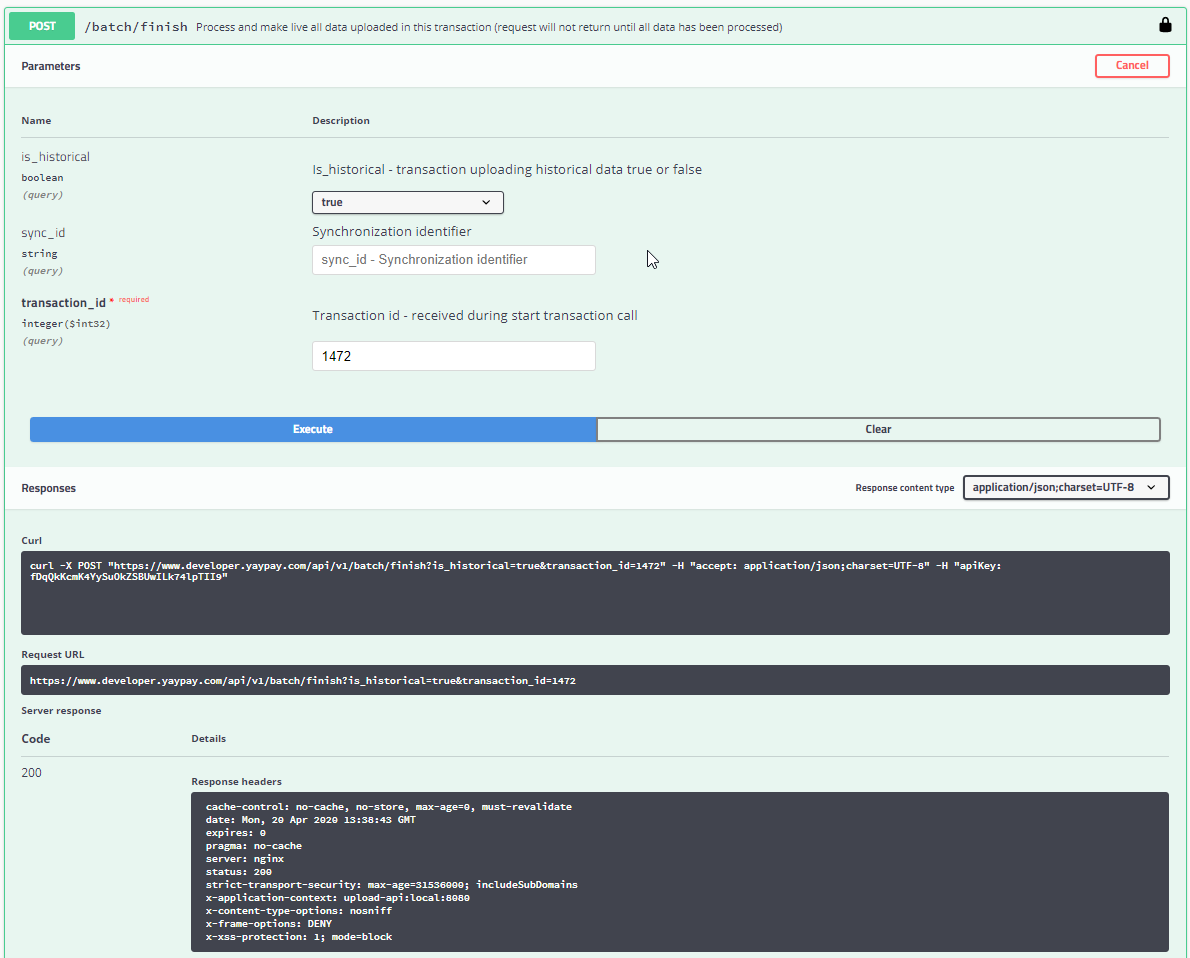
Note: As you did when starting the Request using /batch/start to begin the transaction, you will eventually end the Request using /batch/finish, explained later.
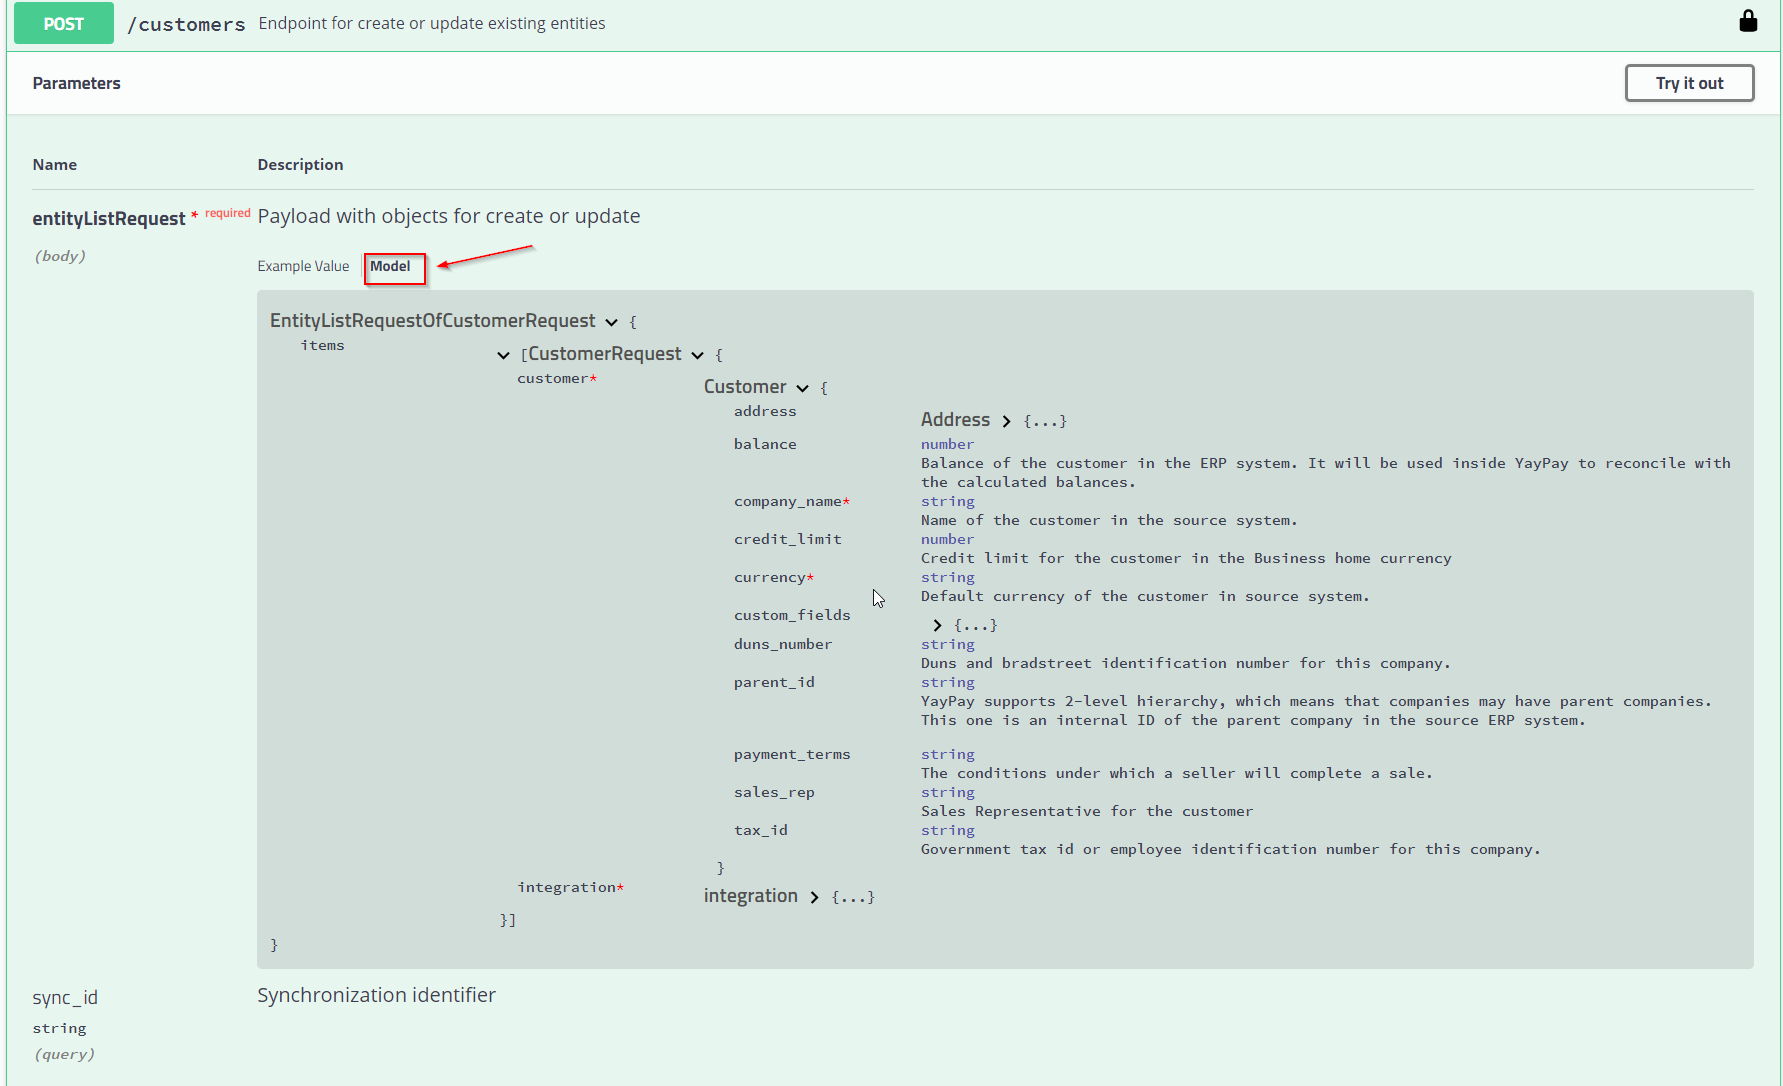
API Parameters shown in the Swagger UI
All API parameters are shown under the Model tab. Mandatory fields are shown by a red asterisk (*) next to the parameter name:
Try your First API Upload
Create your first data upload in your YayPay Development instance comprising a customer, contact, an invoice and payment to help you gain familiarity.
The next few examples outline the steps of using the API Requests to upload data into YayPay, and also to help you understand the logic about Paid/Unpaid invoices coupled with applied/unapplied Payments to the Invoices:
- Create a Customer - This is a basic first step to ensure there is a Customer master record in YayPay
- Create a Contact - This is to create a Customer-level Billing Contact that is important when users automate the Collection Process by sending Email Reminders to these contact(s) as recipients
- Create an Invoice - This will enable the Finance / AR team and the Customer to view the information about paid/unpaid invoices, which will also change the Customer's balance
- Create a Payment - This is to show the payments received in your ERP, and details about the link between the payment and the invoice (i.e. how much of the payment was applied to the Invoice)
Do not forget to begin the transaction with /batch/start.
1. Create a Customer record
Use the POST /customers Request:
- Include the appropriate information, including mandatory fields (look at the Model tab)
Request example:


2. Create a Customer Contact
Use the POST /contacts request:
- Include the appropriate information, including mandatory fields (look at the Model tab)
- Ensure you define the correct internal ID of the customer used previously (1)
Request example:


Same request but "primary" flag set to false:


3. Create an Invoice
Use the POST /invoices request:
- Include the appropriate information, including mandatory fields (look at the Model tab)
- Ensure you define the correct internal ID of the customer you used previously
- Ensure you define the correct internal ID of the contact you used previously
- Use the date format: YYYY-MM-DDThh:mm:ss+hh:mm (it is mandatory to add the timezone)
- Add the Transaction ID that was generated when you started the transaction
Request example:


4. Create the payment
Use the POST /payments request:
- Include the appropriate information, including mandatory fields (look at the Model tab)
- Ensure you define the correct internal ID of the customer and the Invoice used previously
- Ensure you define the correct internal ID of the invoice and Invoice used previously
- Use the date format: YYYY-MM-DDThh:mm:ss+hh:mm (it is mandatory to add the timezone)
- Add the transaction ID that was generated when you started the transaction
Request example:


5. Commit transaction and apply updates
When you finish updating data and want to post it in the Database, you will need to close the transaction.
Use the request /batch/finish to do this, after which you can search the new records and updates in YayPay.