In YayPay
1. Go to Settings > ERP custom fields
2. Click on the correspondent tab: Customer Level or Invoice Level, depending on the type of fields you want to add
3. Enter the Source Field Name* of the Custom Field from your Sage X3 system that you intend to sync with YayPay.
4. Enter the name as to how you would like it to be displayed in YayPay (for the YayPay Display Name column).
5. If you want to use this field/value as an Aging filter, check the "Aging filter" checkbox.
6. If you want this field/value to appear in the Invoices/Statement page of YayPay, check the "Display on Statement" checkbox.
7. Click Add Field to add more or Save.
Source Field Name* should be taken from Sage X3, so use your account to gain the info or contact your account administrator.
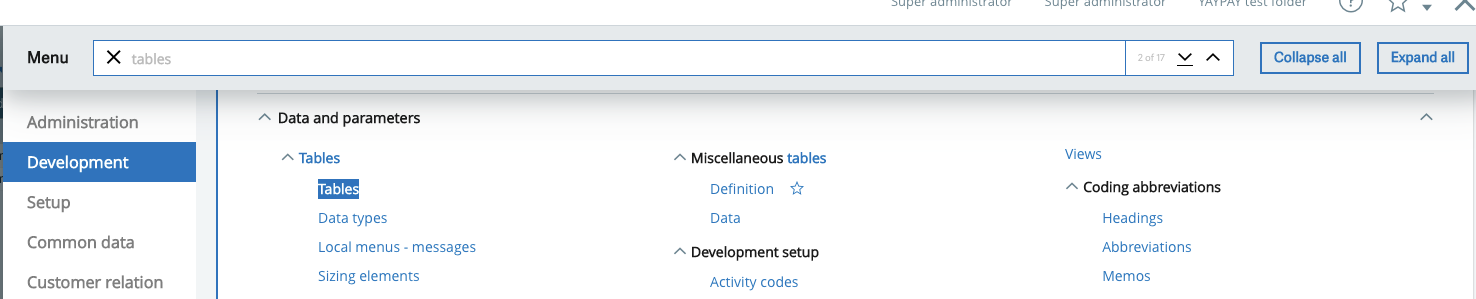
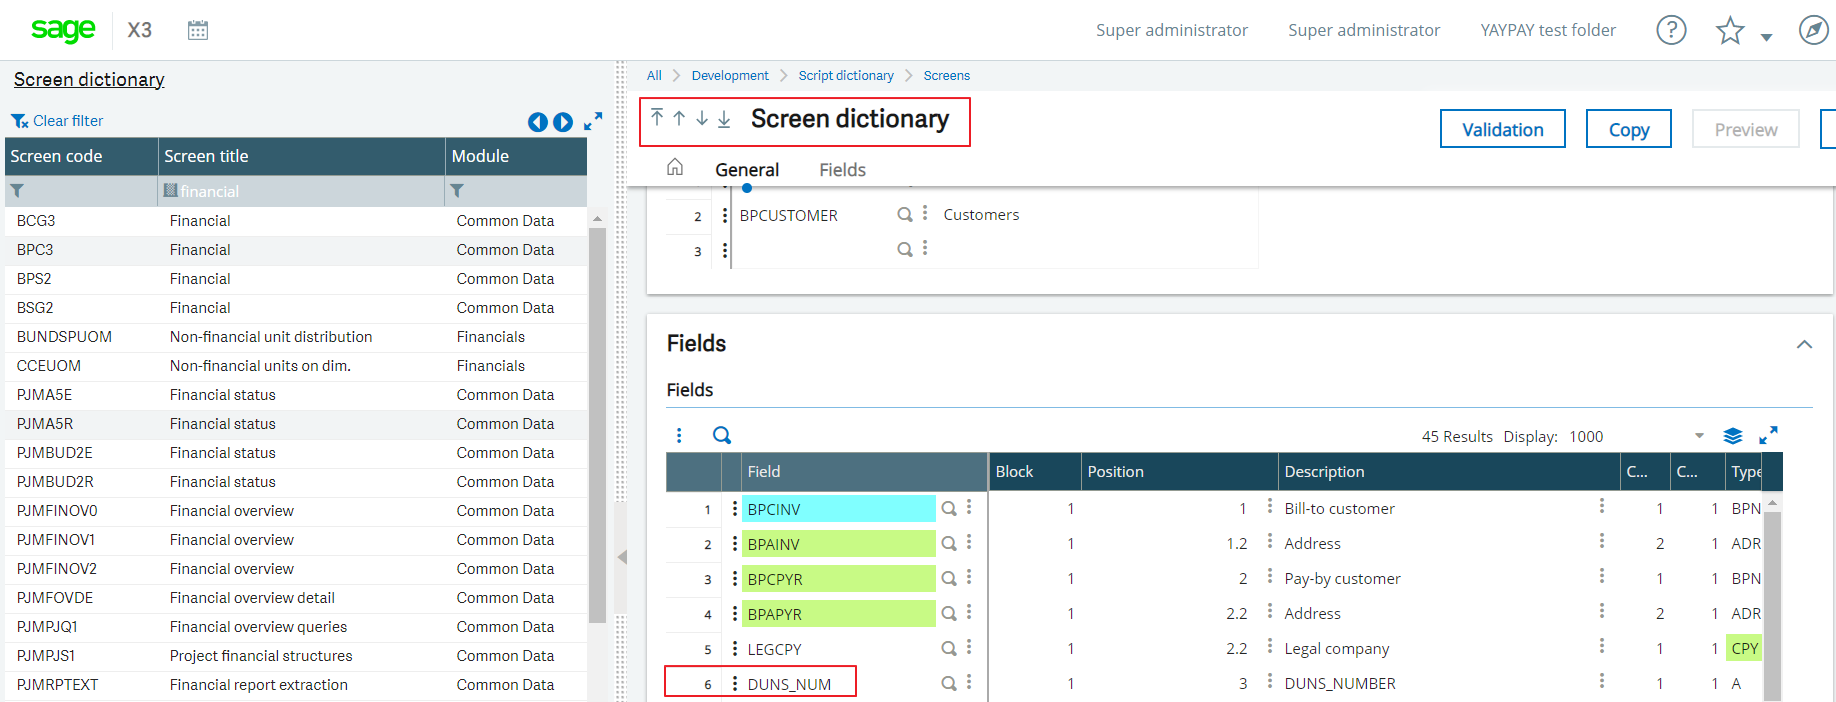
Field names can be found in the correspondent tables:
for Customer Level custom fields: BPCUSTOMER table with [BPC]
for Invoice Level custom fields: SINVOICE table with [SIH], SINVOICED table with [SID], BPCINVLIG table with [SIL]
In Sage X3 it can be found via search or Menu:
Example of the table for Customer Level fields
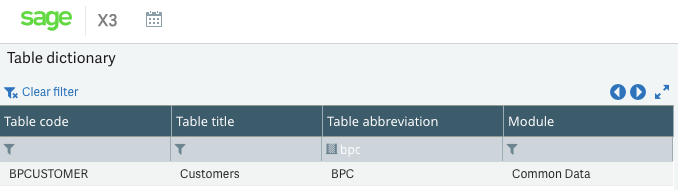
In the column "Column" you can find a name of a field to populate the Source Field Name* in YayPay

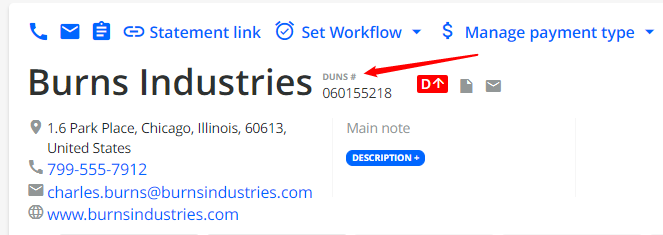
To transmit the DUNS (Data Universal Numbering System) Number within the Customer from Sage X3 to YayPay the user should perform the following steps:
Bringing DUNS Number from Sage X3
- In YayPay, open Settings → Integrations → Sage X3 Connector and fill in the DUNS number custom field name field.
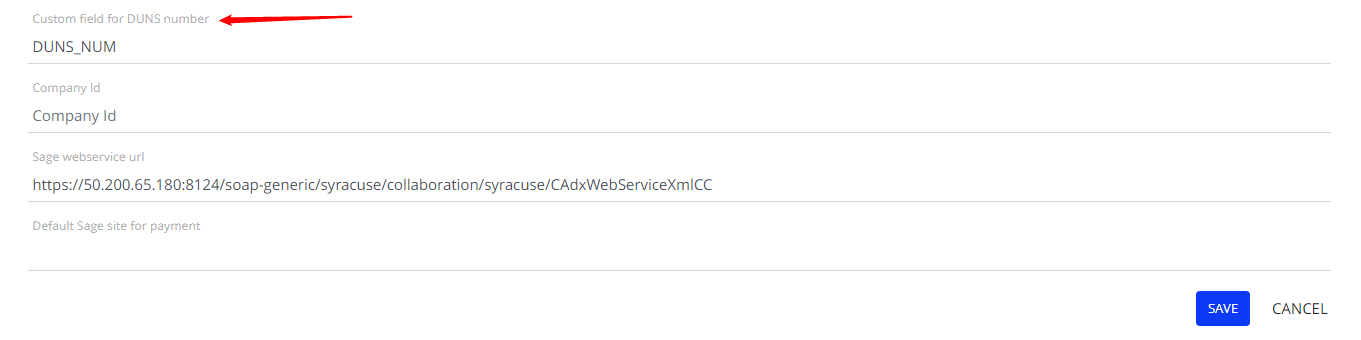
- The DUNS number custom field name field should include the Field ID that corresponds to the Custom Field name in Sage X3 that the user specifies on the screen table.
- Once you fill in the DUNS number custom field name field in YayPay, click Save.
- After the sync process, YayPay depicts the DUNS Number within the Customer.