Using this feature you can add supplemental documents to your customer records, so you can easily view and share those documents with your customers.
Uploading Supplemental Documents
To upload customer level supplemental documents:
Go to the Statements page.
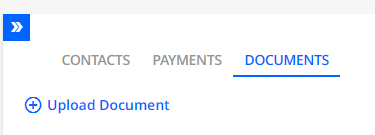
- Click on the Upload Document button located on the Documents tab on the right side of the page:
- This opens the Upload Supplemental Document dialog:
In this dialog, you can select a file to upload and fill in its details:
Upload File
Click Select File to browse for a supplemental document or you can drag-and-drop it directly into this dialog.
The supported file types include PDF, JPEG, JPG, TIF, TIFF, PNG, CSV,TXT, DOC, DOCX, XLS,XLSX, and GIF. The maximum file size is 100 MB.
Title
Specify a unique name for the supplemental document under which it will appear on the Supplemental Documents page and in dialogs.
The title can be up to 50 characters long and can contain letters, numbers, and the underscore character.
Description
Optionally, specify a description of the file.
The description can be up to 200 characters long and can contain letters, numbers, and the underscore character.
Available on Customer Portal
Check the check box to allow your customers to access the document from their Customer Portal's Documents tab.
Alternatively, you can change the default settings so that this check box is always checked for all supplemental documents. To do so, go to Settings | Business and check Supplemental Documents - Enable Available on Customer portal setting by default check box.Available in Workflows
Check the check box to make the uploaded supplemental document available when configuring your collection workflows and rules in Workflows.
Alternatively, you can change the default settings so that this check box is always checked for all supplemental documents. To do so, go to Settings | Business and check Supplemental Documents - Enable Available in Workflows setting by default check box. -
Click on the Upload button to save the settings and upload the file.
You can upload max 3 files.
Downloading Supplemental Documents
Once uploaded, you can also download one or all the supplemental documents:
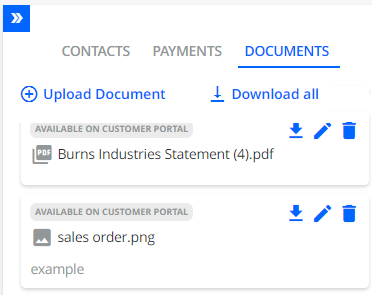
You can download them from the following pages:
Statement page
Customer Portal website
Editing Supplemental Documents
Once uploaded, you can edit the supplemental document's Title, Description, or change its availability on Customer Portal and/or Workflows: To do so, click on the Edit icon available on the Statement page.
Deleting Supplemental Documents
Click on the Delete icon on the Statement page to remove any supplemental documents.
Upload Supplemental Documents via API or FTP
You can automate the upload of supplemental documents via the YayPay API or FTP
For API documentation, see https://yaypay.helpjuice.com/44477-api-developer-docs/supplement-documents-api.
For FTP documentation, see https://yaypay.helpjuice.com/en_US/88169-csv-ftp/1981654-sync-supplemental-documents-via-ftp-ftps-sftp-server.
Attaching Supplemental Documents
In YayPay there are two approaches to attaching customer level supplemental documents:
Attaching individual supplemental documents – For a single customer, you can manually select customer level supplemental documents of your choice and attach them to a communication, e.g. a reminder. This means that each customer can attach his own supplemental documents only.
Attaching multiple supplemental documents – For multiple customers, all the previously uploaded supplemental documents (with the Available in Workflows check box checked) are automatically attached to a communication, e.g. a reminder. As a result, each customer will receive a reminder containing only their own set of supplemental documents.
Attaching Individual Supplemental Documents
Once you have uploaded your customer level supplemental documents, you can select and attach them to your communications that are sent to customers.
Following this approach, you can attach your own customer level supplemental documents only.
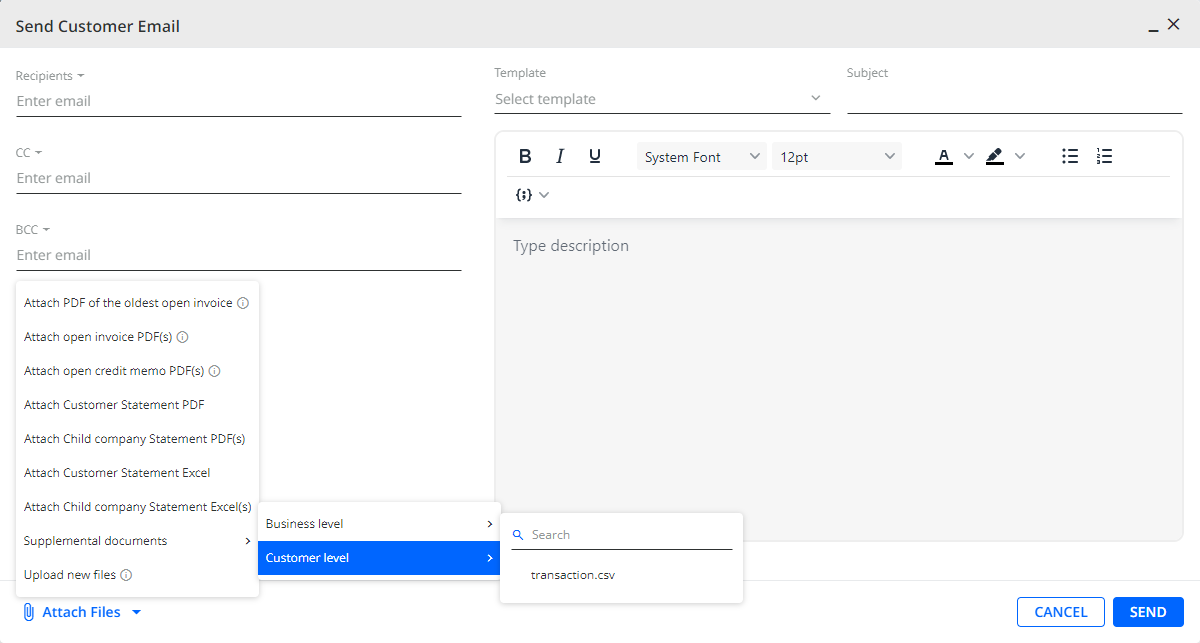
To attach a document, go to Attach Files | Supplemental documents | Customer level and then select a document. By clicking on a document's name, you can attach a new document (indicated by a tick) or remove an already attached document (indicated by a cross). In addition, you can also use the Search functionality to quickly find a specific document.
The customer level supplemental documents can be attached to:
Email Reminders (manual)
You can attach supplemental documents on all pages where you can send email reminders, for example:
- Global Search
- Aging Report
- Statement page
- Invoices
- Disputes
- Tasks
- Communications
Send Mail (manual)
When configuring sending of physical mail reminders manually, only PDF files can be selected.
You can attach supplemental documents on all pages where you can send mail, for example:
- Aging Report
- Statement page
- Invoices
Rules
If you check the Available in Workflows check box when uploading/ editing customer level supplemental documents, then you can automatically include these documents that are already attached to a customer in mail and email remainders. You can do so on all the pages where you can add rules for the Send mail and Send an email reminder Action types, for example:
- Collection Workflows (including Rules and Timelines)
- Global Rules
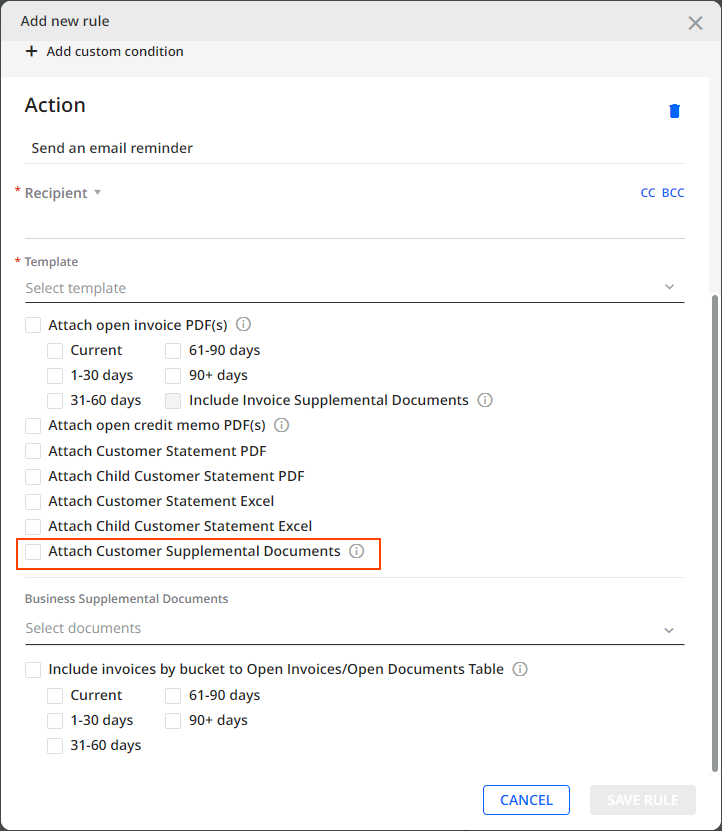
For this purpose, the Add new rule dialog contains the Attach Customer Supplemental Documents check-box.

Attaching Multiple Supplemental Documents
For multiple customers, YayPay automatically attaches all the previously uploaded customer level supplemental documents to a communication, e.g. a reminder. As a result, each customer will receive a reminder containing only their own set of supplemental documents.
To attach all the costumer level supplemental documents to email/ mail reminders:
- Go to Settings | Security Groups and check the Manage Customer/Invoice Supplemental Documents check box for your role.
- Go to any page from which you can send mail or email reminders:
Email Reminders (manual)
You can attach supplemental documents on all pages where you can send email reminders, for example:- Aging Report
- Statement page
- Invoices
- Disputes
- Tasks
- Communications
When configuring sending of physical mail reminders manually, only PDF files can be selected.
You can attach supplemental documents on all pages where you can send mail, for example:
- Aging Report
- Statement page
- Invoices
3. Select customers who should receive the email/mail reminders and click on the Send Reminder icon.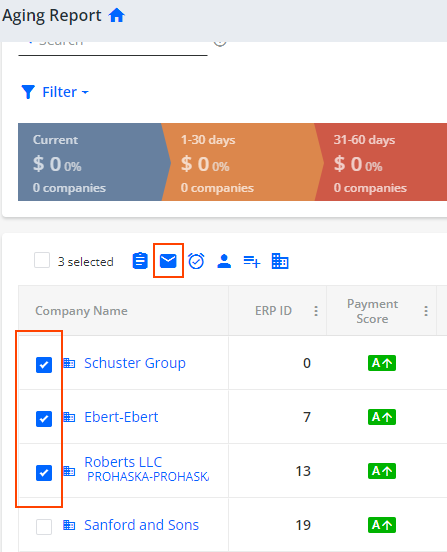
4. This opens the Send Customer Email dialog where you can specify the reminder's options including attachments.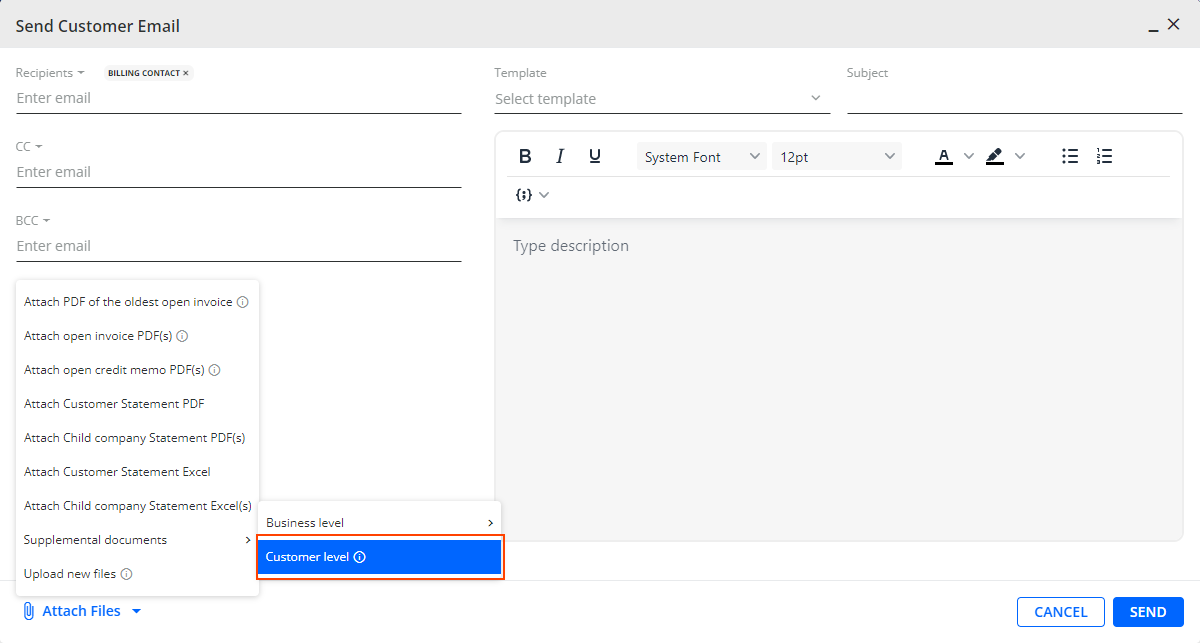
Click on Attach Files.
Click on Customer level.
This attaches all the selected customers' level supplemental documents for which you checked the Available in Workflows check box when uploading/ editing them.
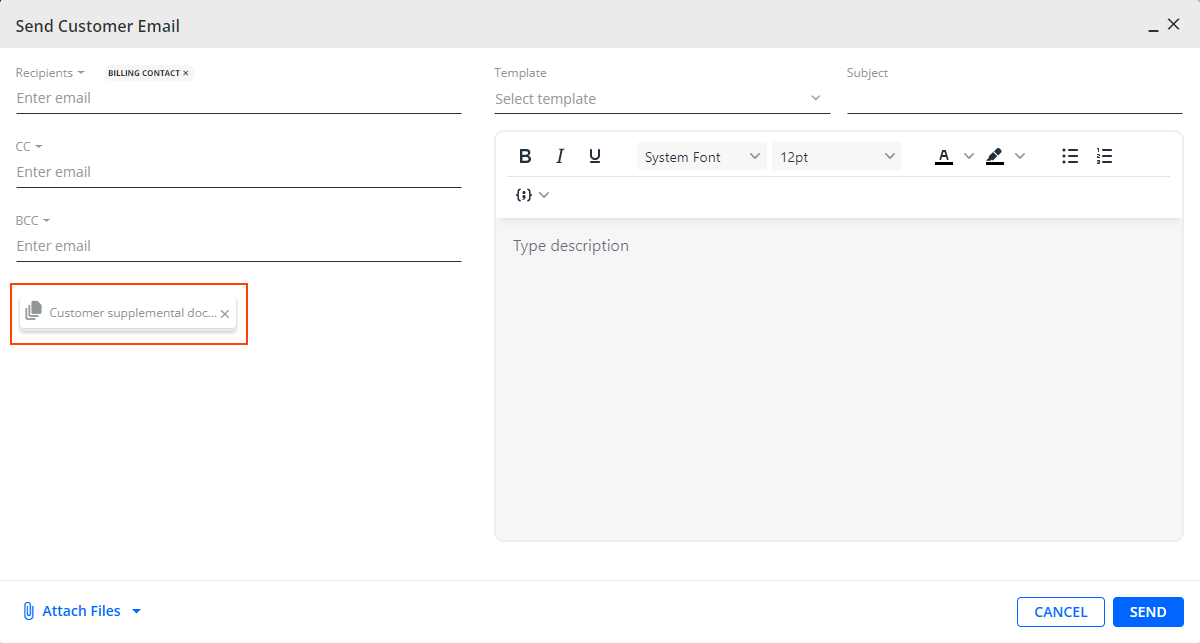
-
The customer level supplemental documents are attached as a group. By clicking on the cross icon, you can remove the whole group, i.e. all the customer level supplemental documents at once, it is not possible to remove individual documents.
5. Click Send to send the reminders.
As a result, each customer will receive a reminder containing only their own set of supplemental documents, i.e. all the documents with the Available in Workflows check box checked that are available for the given customer.
