This section describes how to import and publish an external YayPay customization package in Acumatica. This is a necessary prerequisite for the integration between Acumatica and YayPay.
See the following sections for detailed instructions on each step:
- Obtain the Customization Package
- Import the Customization Package
- Publish the Package
- Wait for Compilation and Validation to complete
(1) Obtain the Customization Package
To obtain the customization package, contact support@yaypay.com or your YayPay account rep.
After receiving the package, log in to your Acumatica ERP as an Admin to import and publish the customization package.
(2) Import the Customization Package
To import the YayPay external customization package to Acumatica:
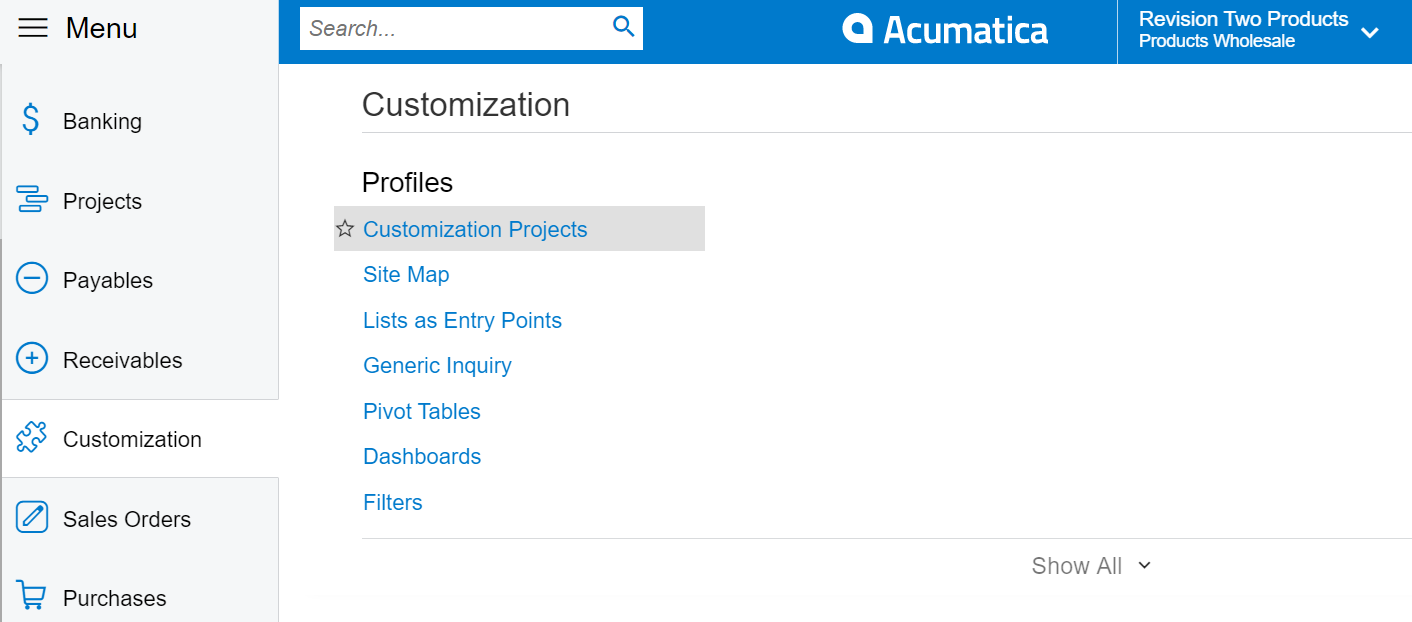
- In Acumatica, go to Customization | Customization Projects:
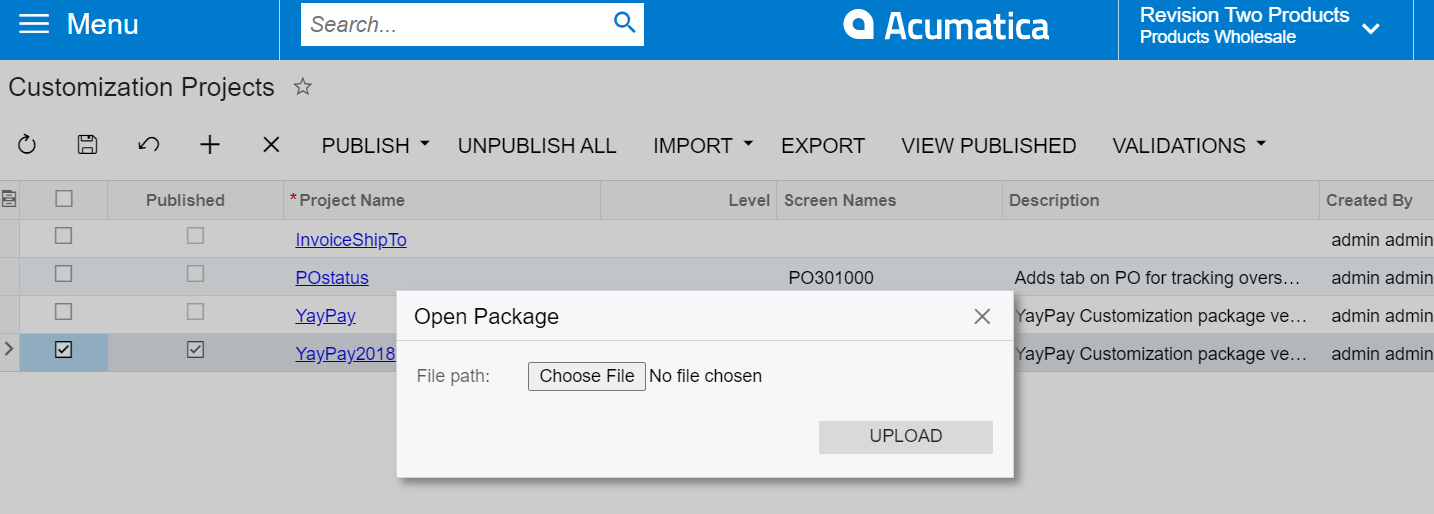
Click IMPORT to open the package.
- Select the imported package and click on UPLOAD.
(3) Publish the Package
To published the imported customization package in Acumatica:
-
Once the package is imported, a new row will appear on the Customization Projects page:

- Select the row with the package and click on PUBLISH to start the publishing process:

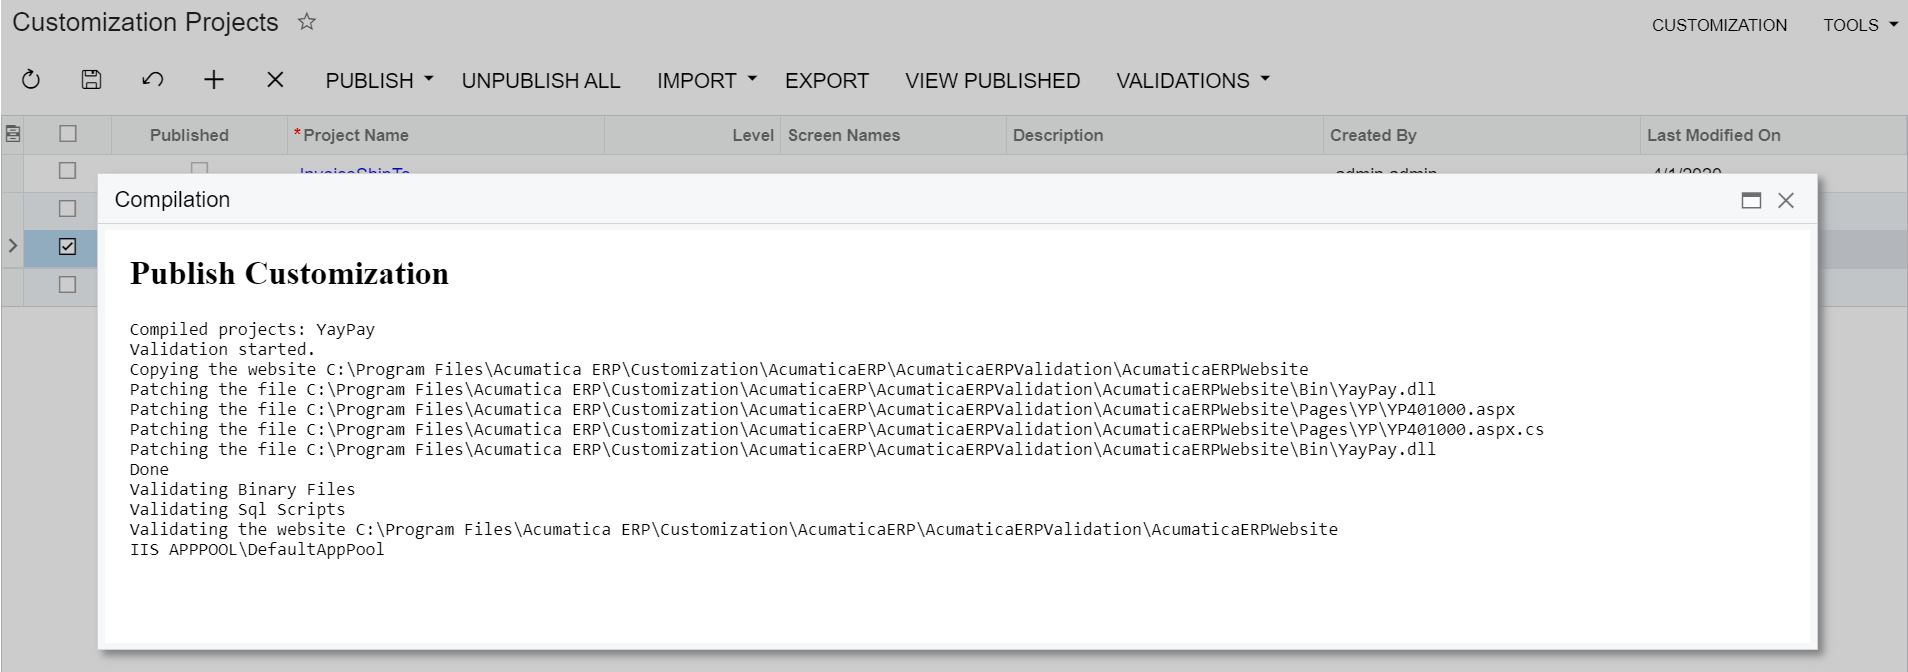
- During the publishing process, a dialog appears informing you about its progress:
(4) Wait for Compilation and Validation to complete
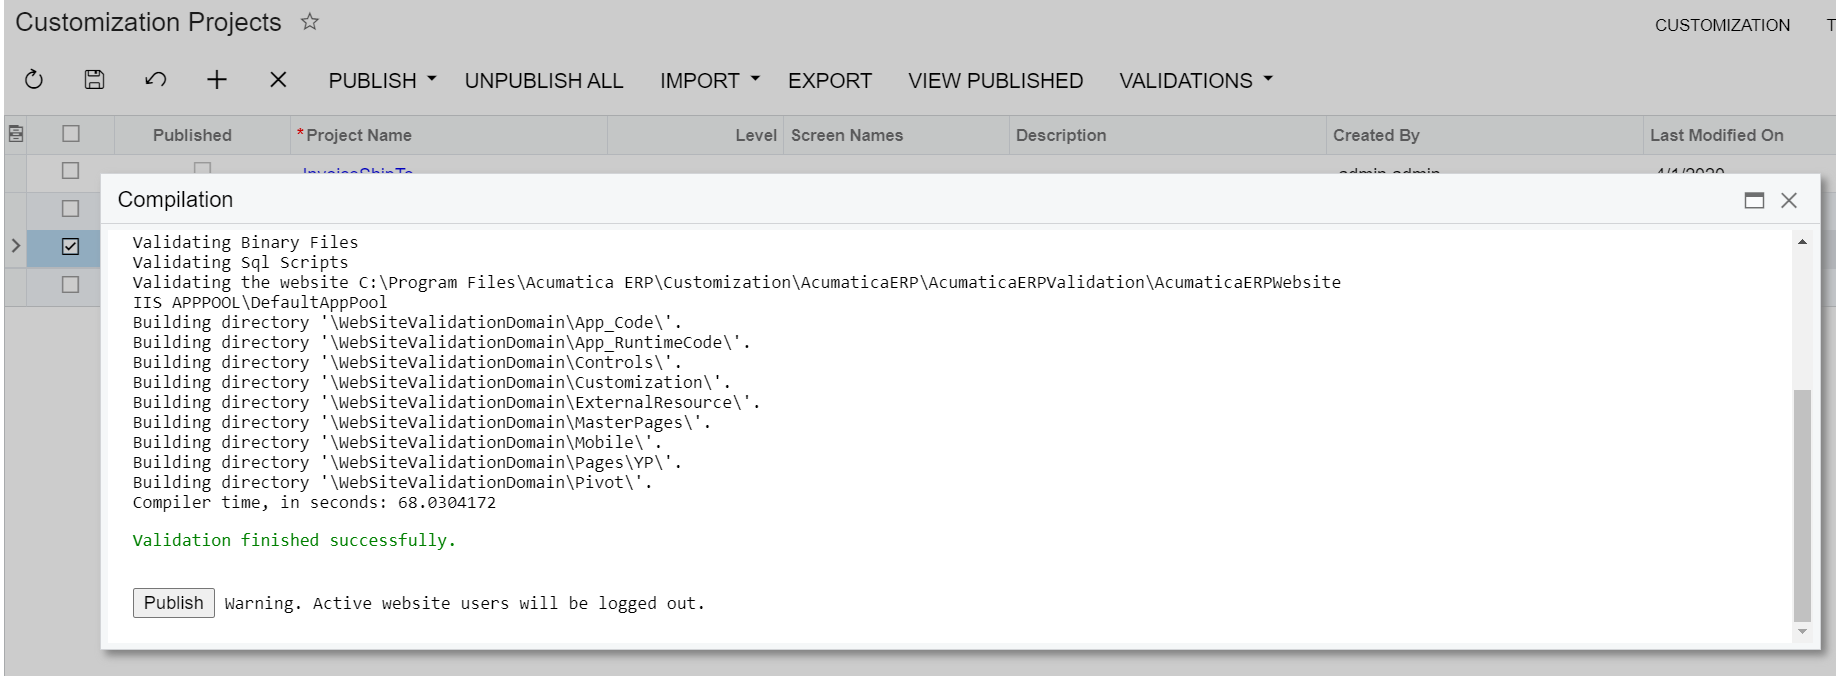
After the validation process is completed, click Publish at the bottom of the dialog:
Once completed, your Acumatica instance will have custom functionality installed.
Additionally, the Published check box will appear in the row with the package on the Customization Projects page in Acumatica.
Customization Project Editor
To review the package's content, click on the Project name, e.g. YayPay to open the package itself:
The Customization Project Editor will open and display the installed components: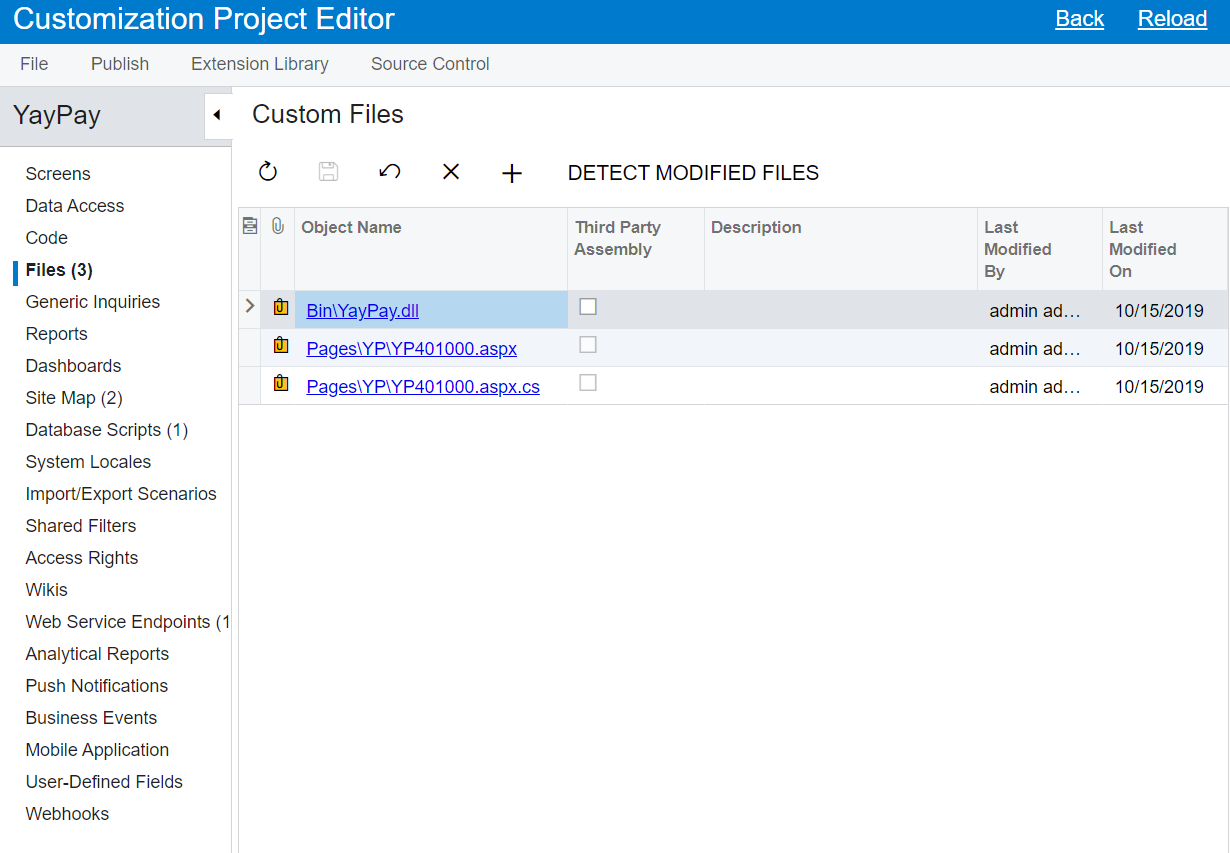
The installed package components include:
- Files
- Site Map
- Database Scripts
- Web Service Endpoints
