As part of importing your AR data through the 6 CSV files, refer to this Article link on how to prepare and represent specific custom fields/values from your ERP in the customer.csv and/or invoice.csv file. You have 2 modes to choose from.
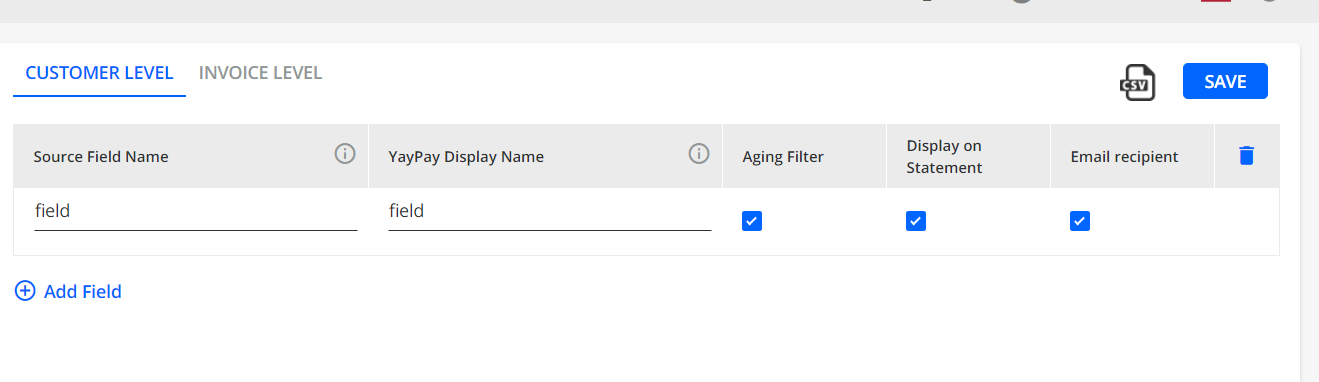
Once you have decided and identified the custom fields to include in your customer.csv and/or invoice.csv file, you will need to configure the custom field names in the Custom field settings page in YayPay.
If you decided to represent your custom fields in the customer.csv file, specifically using a single column called customFields

Pay attention to how you should fill in these fields in YayPay > Settings > ERP Custom Fields.
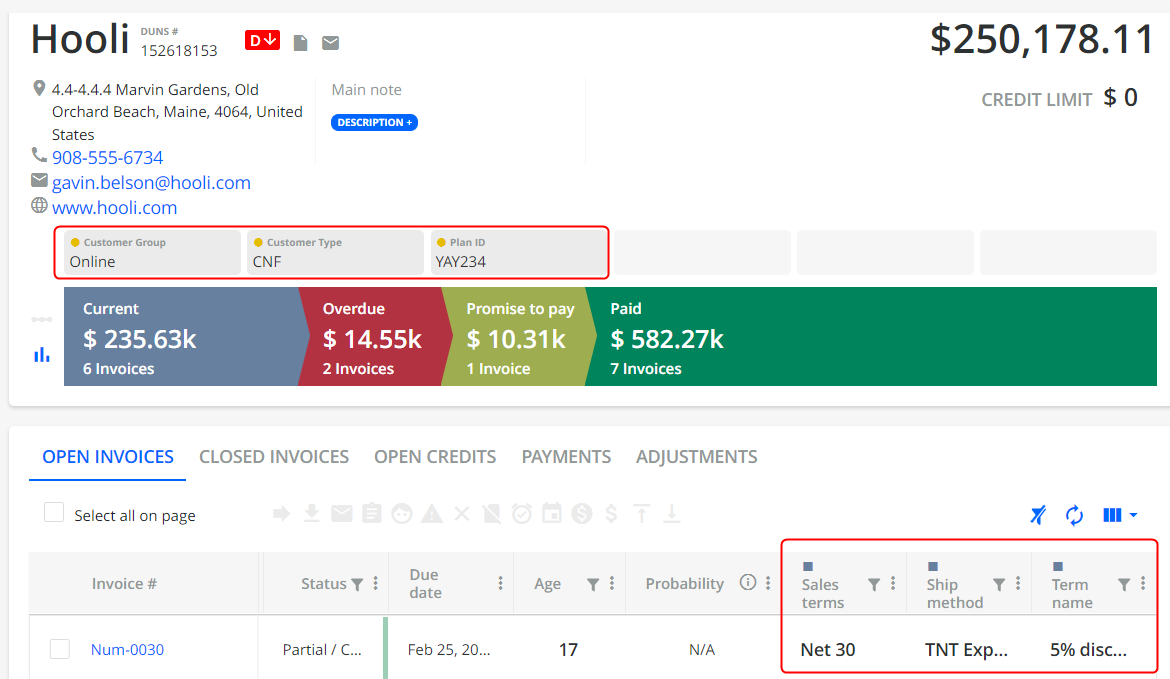
Once you sync the CSV connector, in YayPay you will see the following location of custom fields:
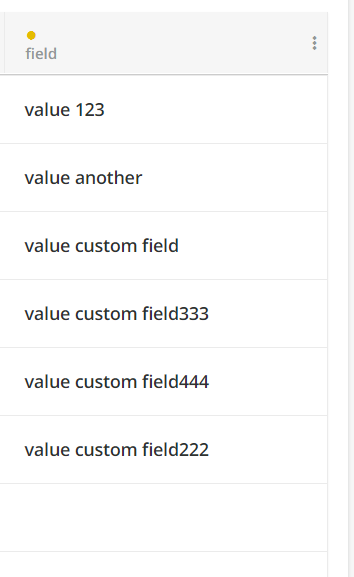
Note: pay attention, that you should not separate fields by a comma. In this case, the CSV connector will not be able to parse a row with custom fields.

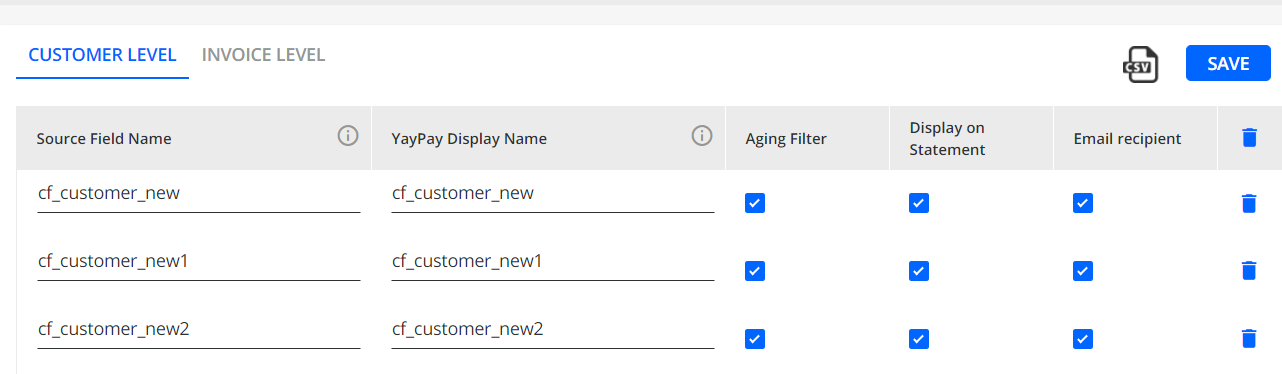
Alternatively, if you decided to prepare and represent each custom field in its own column in the customer.csv file, e.g. a column called "cf_customer_group", and another column called "cf_customer_industry" where these 2 columns will contain the value for each customer record represented as rows in the CSV file, then this is how you would configure your Customer-Level custom fields to align to the CSV file:
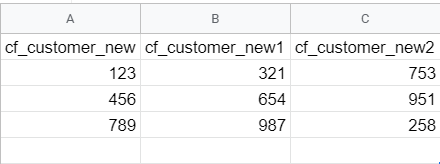
Custom fields columns:
For each custom field, you can add a column with a name starting with cf_
Each column is a separate custom field
You are unable to configure both solutions. If "customFields" column exists the Json Column solution will be used.
Example on how to use custom fields for invoices
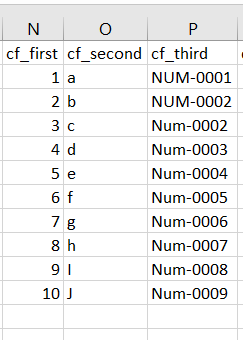
Step 1: The custom field is represented in each separate column in the invoice.csv file
1. Fill in the invoice.csv file
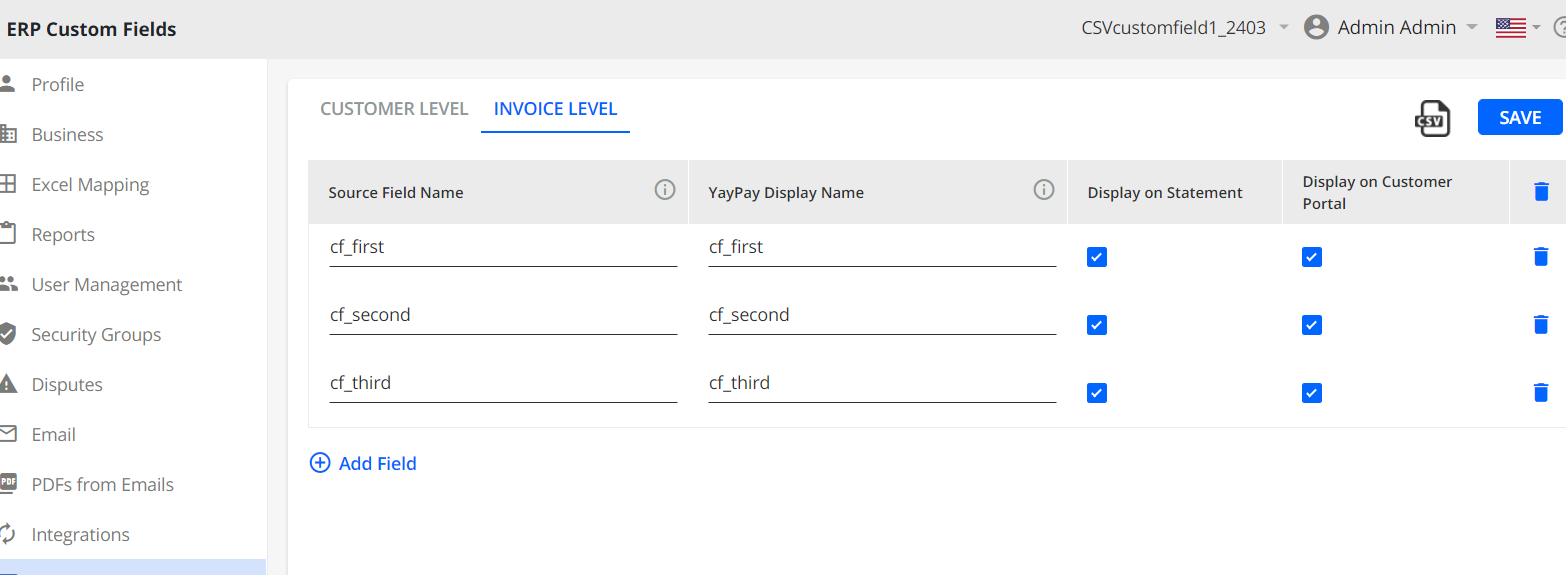
2. Fill in the ERP Custom Fields > Invoices tab in YayPay
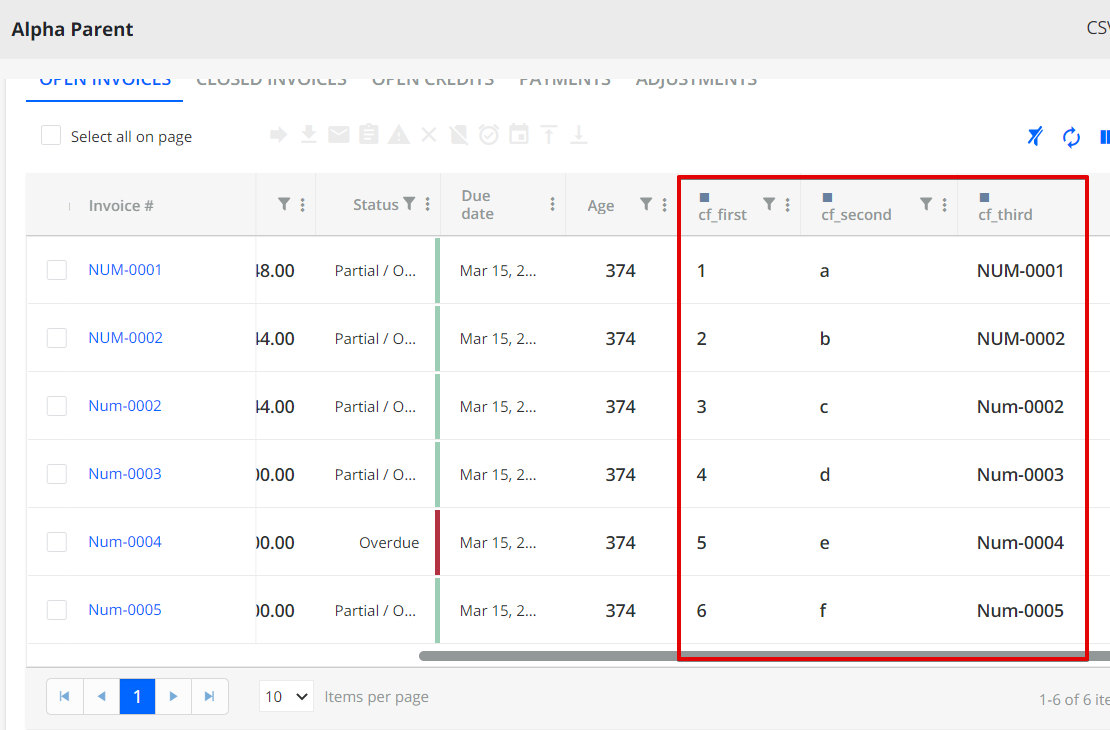
3. Leverage the sync process and check the result
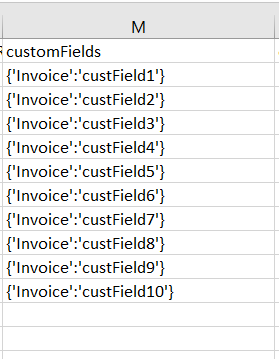
Step 2: Custom fields are represented in one column in the invoice.csv file
1. Fill in the invoice.csv file
2. Fill in the ERP Custom Fields > Invoices tab in YayPay

3. Leverage the sync process and check the result