You can synchronize AR documents between the business and its subsidiaries via the Entity ID. For this purpose, you can use the following combinations of the CSV files withing the ZIP file:
- invoice.csv and invoiceLines.csv
- [transaction.csv + invoice.csv] or [transactionFull.csv + invoice.csv]
- [transaction.csv + transactionAllocations.csv] or [transactionFull.csv + transactionAllocations.csv]
- salesOrder.csv
- customer.csv
- contact.csv
Syncing AR Documents using Entity ID
The Entity ID field is used as a filter to synchronize only the AR data associated with the specific entity, e.g. the invoices linked to a specific entity.
To initiate the synchronization of AR documents based on their Entity ID:
Go to Settings | Integrations and click on Manage Business Systems.
Select CSV.
- On the Connector Settings page that opens, specify the Entity ID.
The following behavior also applies: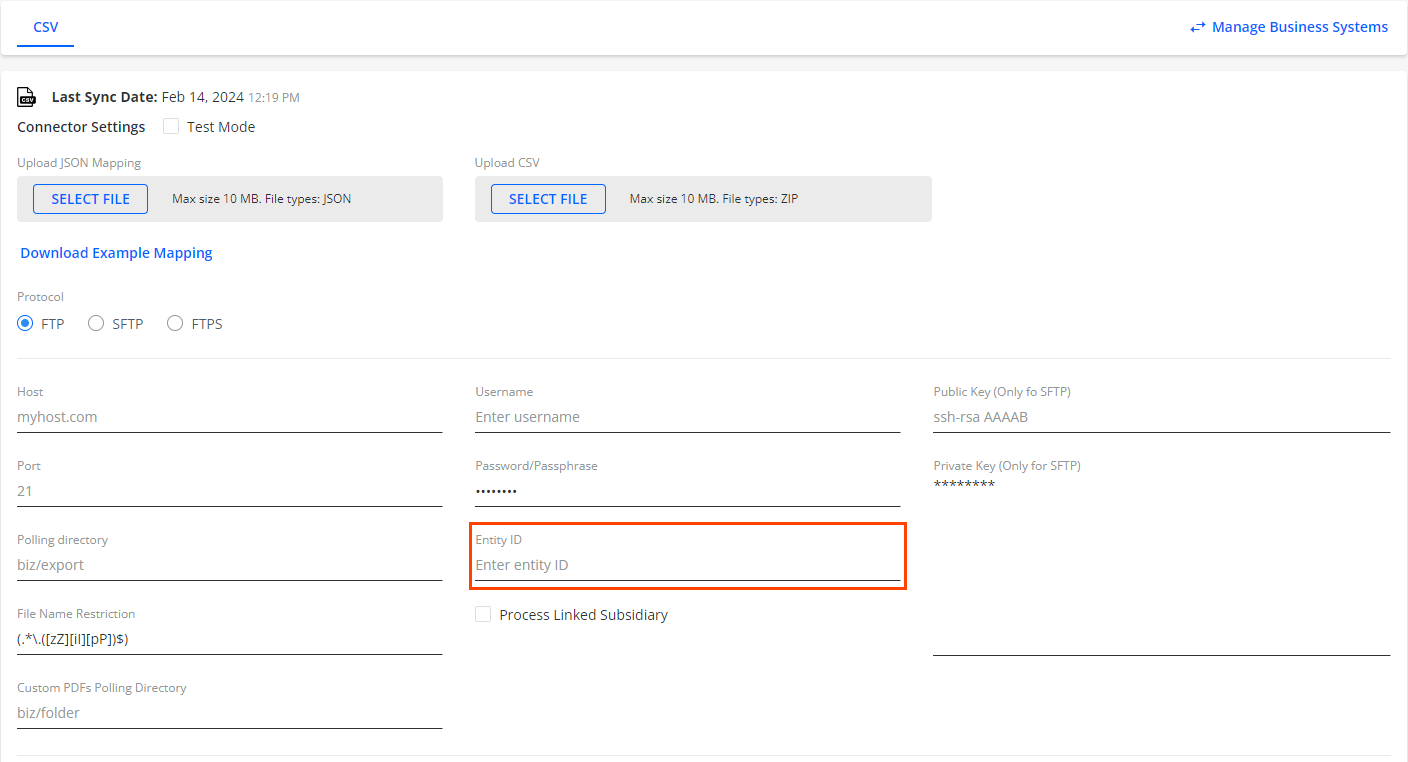
If the connector settings has an Entity ID specified, but the Entity ID column is absent in the CSV file, the connector will sync data from the whole file.
If the connector settings has an Entity ID specified, but the entityId row in the CSV file is not filled in, the entity will still be synced.
-
Configure the other options on this page.
For a description of the fields, refer to the relevant sections within this chapter.
Optionally, check Process Linked Subsidiary to enable data synchronization with linked subsidiaries.
Click SAVE.
Syncing Documents with Linked Subsidiaries
To link subsidiaries to your main business:
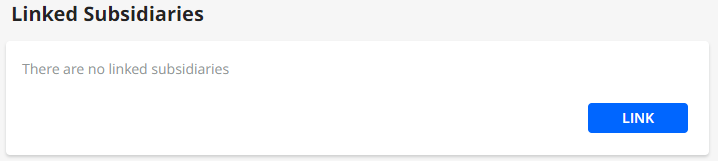
- Go to Settings | Business and navigate to the Linked Subsidiaries section.
-
Click on the LINK button.
This will open the Link Subsidiaries dialog where you can select one or multiple subsidiaries that you want to link.
Click SAVE to confirm your selection and to close the dialog.
Go to Settings | Integrations.
- On the Connector Settings page, check Process Linked Subsidiary.
Process Linked Subsidiary synchronizes data with the linked subsidiaries. Both the main business and all the linked subsidiaries. The following behavior applies: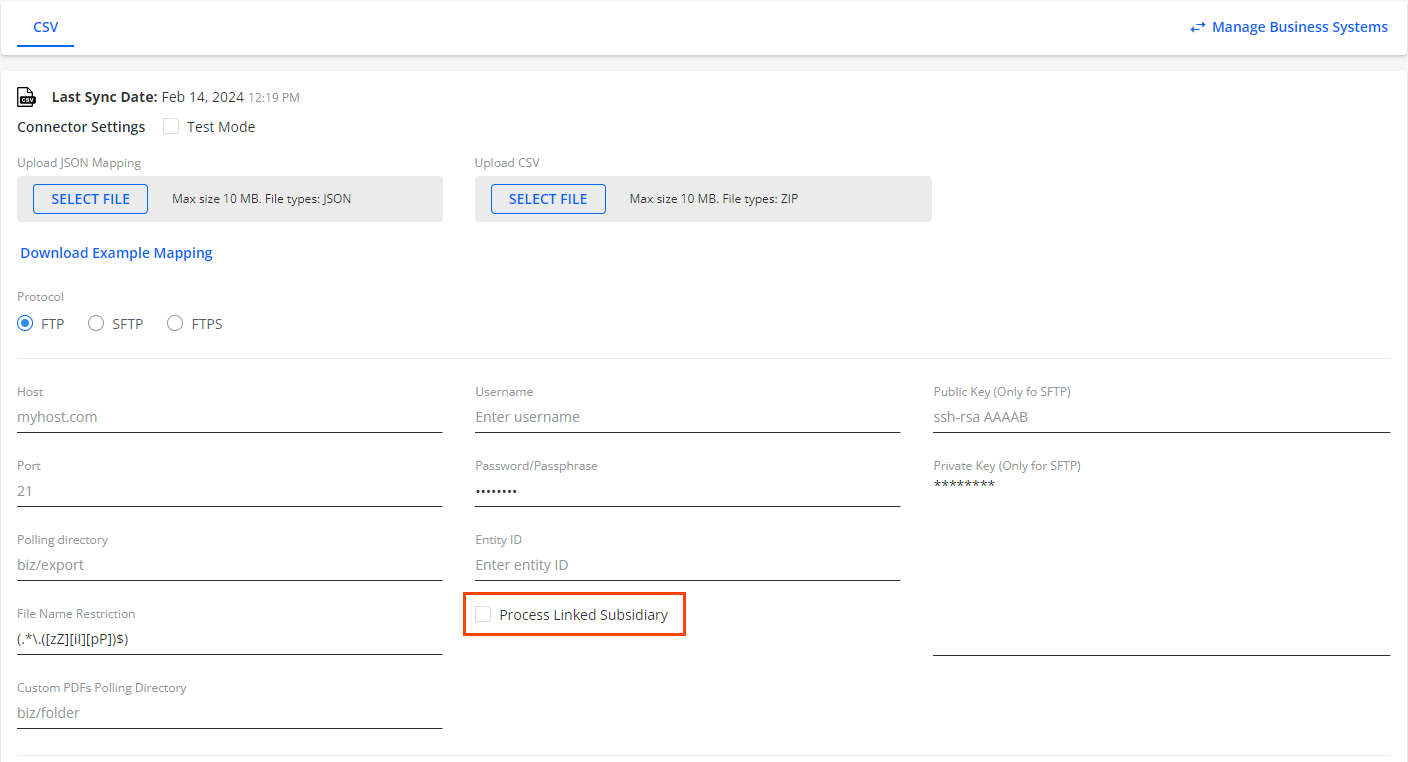
If unchecked for all the linked subsidiaries, the connector will only sync data with the main business.
If checked for the main business but unchecked for a subsidiary, the data of that subsidiary will not be synced.
-
Specify the Entity ID for both the main business and the linked subsidiaries.
The connector will only sync data (between the main business and the linked subsidiaries) if you checkProcess Linked Subsidiary and specify the Entity ID for the main business and all the linked subsidiaries.
The following behavior also applies:If you do not specify the Entity ID for the main business or its linked subsidiary (i.e. you leave the Entity ID field empty), the connector will sync all the data for the respective business/subsidiary.
If the connector settings include an Entity ID but a row in the CSV file does not include the entityId, the connector will sync the data to both the main business and the linked subsidiary.
If the connector settings include an Entity ID but the entityId column is absent in the CSV file, the connector will sync data from the whole file.
If the connector settings include Entity ID but the entityId row in the CSV file is not filled in, the entity will still be synced.
The connector will not sync data from the subsidiary's CSV file if its data does not match the data from a main business CSV file by Entity ID.
-
If the connector settings include an Entity ID and its value matches the Entity ID in the parent file (e.g. invoice.csv), the invoice items will still be synchronized even if the child file (file with invoice items) does not have an entityId column.
Examples of Parent-Child CSV Files
The following table lists CSV files that are in a parent-child relationship, i.e. for synchronization purposes, the value of the Entity ID field is always taken from the parent file.
| Parent CSV File | Child CSV File |
|---|---|
| transactionFull.csv | invoice.csv |
| transactionFull.csv | invoiceLines.csv |
| transactionFull.csv | transactionAllocations.csv |
| invoice.csv | transactionAllocations.csv |
| invoice.csv | invoiceLines.csv |
| transaction.csv | transactionAllocations.csv |
| contact.csv | customer.csv |
For more details, see also the Transaction File Mode with Invoices section.
See the following examples for different cases of settings and their outcomes:
-
Example 1
You set Entity ID to 123456 on the Connector Settings page.
In the transactionFull.csv file, the invoice has Entity ID set to 123. In the invoice.csv file, the invoice has Entity ID set to 123456.
In this case, the connector will not sync data from the invoice.csv file because it is a child file of the transactionFull.csv file.
-
Example 2
You set Entity ID to 123456 on the Connector Settings page.
In the invoice.csv file, the invoice has Entity ID set to 123. In the transactionAllocations.csv file, the invoice has Entity ID set to 123456.
In this case, the connector will not sync data from the transactionAllocations.csv file because it is a child file of the invoice.csv file.
-
Example 3
You set Entity ID to 123456 on the Connector Settings page.
In the transactionAllocations.csv file, the invoice has Entity ID set to 123456. In the transaction.csv file, the invoice has Entity ID set to 123.
In this case, the connector will not sync data from the transactionAllocations.csv file because it is a child file of the transaction.csv file.
-
Example 4
You set Entity ID to 123456 on the Connector Settings page.
In the invoice.csv file, the invoice has Entity ID set to 123. In the invoiceLines.csv file, the invoice has Entity ID set to 123456.
In this case, the connector will not sync data from the invoiceLines.csv file because it is a child file of the invoice.csv file.
-
Example 5
You set Entity ID to 123456 on the Connector Settings page.
In the transactionFull.csv file, the invoice has Entity ID set to 123. In the invoiceLines.csv file, the invoice has Entity ID set to 123456.
In this case, the connector will not sync data from the invoiceLines.csv file because it is a child file of the transactionFull.csv file.
-
Example 6
You set Entity ID to 123456 on the Connector Settings page.
In the transactionFull.csv file, the invoice has Entity ID set to 123. In the transactionAllocations.csv file, the invoice has Entity ID set to 123456.
In this case, the connector will not sync data from the transactionAllocations.csv file because it is a child file of the transactionFull.csv file.
-
Example 7
You set Entity ID to 123456 on the Connector Settings page.
In the customer.csv file, the customer has Entity ID set to 123. In the contact.csv file, the customer has Entity ID set to 123456.
In this case, the connector will not sync data from the customer.csv file because it is a child file of the contact.csv file.
