Overview
You can now send a proportion of invoice-related communications by post.
With YayPay’s Outsourced Mail, you can reduce manual work by having 2 separate processes - one for sending physical mail and the other, for electronic email invoicing. All customer-related communications can also be tracked and reviewed through YayPay.
Your Accounts Receivable communications are more flexible depending on your end customer’s preference - you can deliver invoices, reminders, statements, and letters via email to review via the YayPay Customer Portal, or through Postal mail originating from the YayPay platform.
The YayPay platform will enable you to setup up Automated Collection Rules that can transfer your end customers onto a “Postal Workflow”, to tie to their preferred communication channel. This is another way to attract more intent and attention from your customers to drive faster collections and payments.
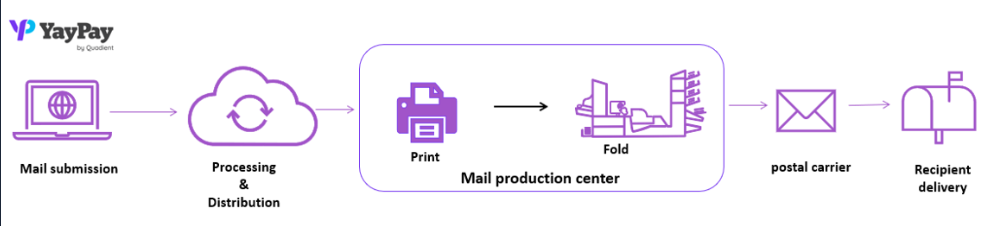
The overall capability is illustrated as follows:
How to enable and set up
The physical mail is configured within YayPay either manually (using the "Send Mail" icon) or automatically (using Workflows). Approach YayPay Support (support@yaypay.com) or your YayPay Account Rep to activate the menu for you to access the functionality and setup described below.
Outsourced mail service is used to send physical mail with invoices and/or customer statements to your customers. The physical mail is configured within YayPay either manually (using the "Send Mail" icon) or automatically (using Workflows).
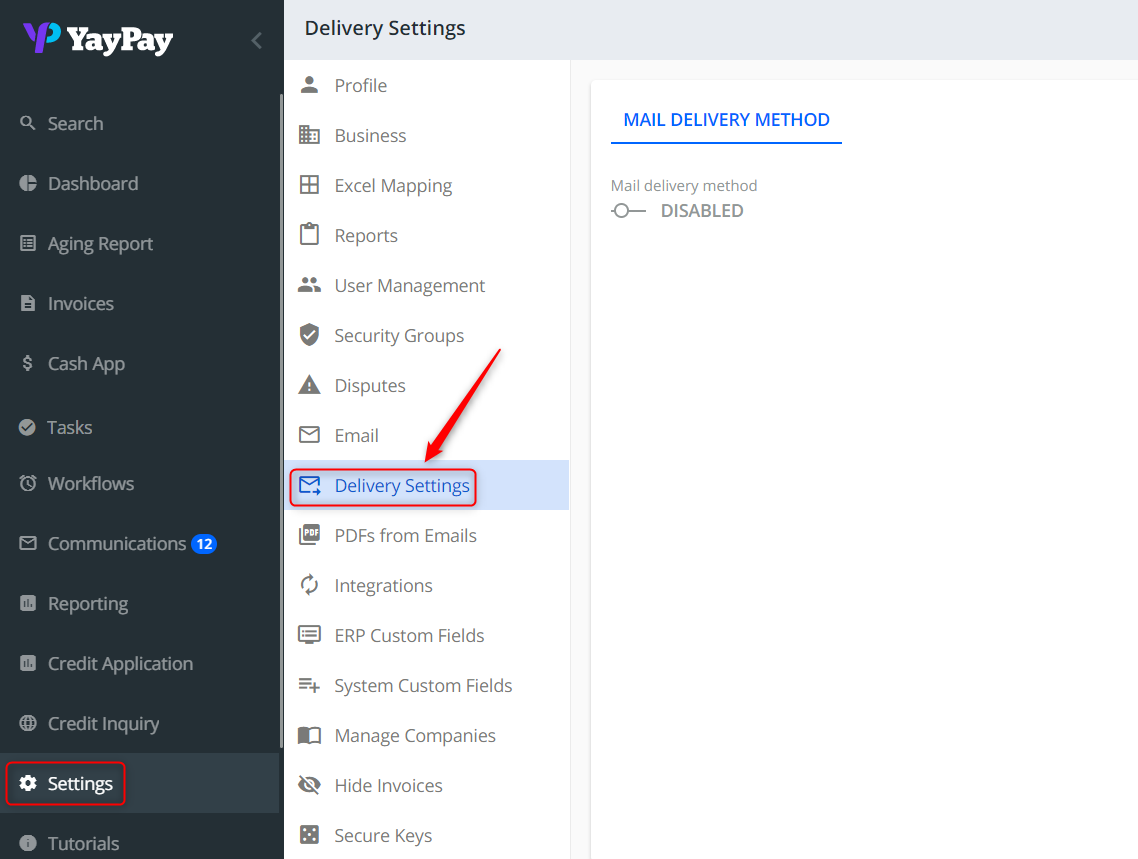
To be able to use the feature, make sure there is a "Delivery Settings" item in the Settings.
Ensure that the Provider Key field has been configured in Business | Settings. A provider key is unique and issued per a YayPay instance.
Reach out to YayPay Support (support@yaypay.com) or your YayPay account rep if:
- You still need to obtain the key.
- You do not want to be billed through a single/combined bill using this functionality across all YayPay instances.
The next step is to activate the mail delivery method and configure the settings.
The mail delivery method is disabled by default.
After enabling (by moving the toggle switch) the settings, applicable to your country, appear:
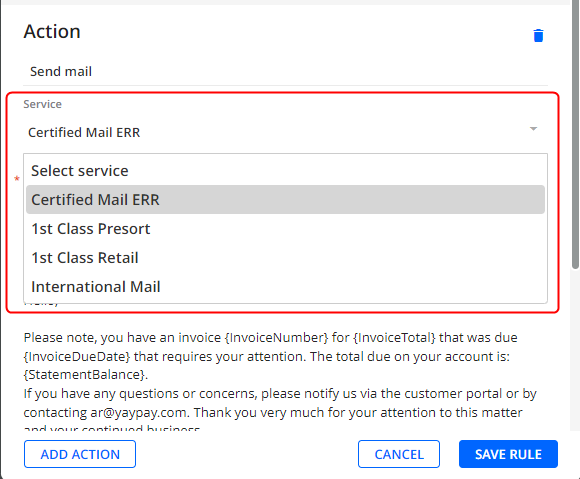
Select one of the available mail services from the Services list.
The options available depend on the country of your business set in Settings | Business.
You can select from the following mail services:
-
USA – 1st Class Presort (national) and International Mail (international) are the default mail services for the US.
The other available options are 1st Class Retail and Certified Mail ERR.
-
United Kingdom – 1st Class (national) and International Mail are the default mail services for the UK.
The other available options are 2nd Class, 2nd Class with Failed Delivery Notification, 1st Class with Failed Delivery Notification.
-
France – Service économique (national) and Service prioritaire (international) are the default mail services for France.
The other available options are Recommandé avec suivi des plis non distribués,Recommandé avec AR en ligne et suivi des PND,Service économique avec suivi des PND, Service prioritaire avec suivi des PND.
-
Belgium – Europe Prior (international) and National Non Prior D+3 (national) are the default mail service for Belgium.
The other available options are National Prior D+1,World Prior,International Registered Mail without Proof of Acceptance by the Recipient,National Registered Mail without Proof of Acceptance by the Recipient.
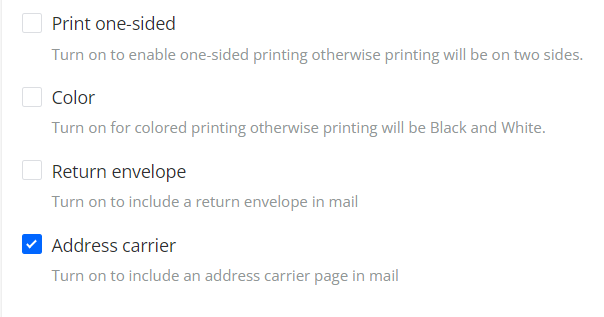
When the "Print one-sided" option is enabled, one-sided printing is applied, when disabled, printing will be on two sides.
When the "Color" option is enabled, colored documents are printed, when disabled, printing will be black-and-white.
When the "Return envelope" option is enabled, your customer will be notified that he is expected to send the answer (with some documents).
"Address carrier" option (enabled by default): if disabled, the mail will not include an additional address page.
Click SAVE CHANGES.
The configured settings will be applied to all of your customers.
After "Mail Delivery Method" is configured, the "Send Mail" option :
becomes visible to the staff.
How to send a test mail?
To check what your physical mail will look like, you can send it to the physical address of your company.
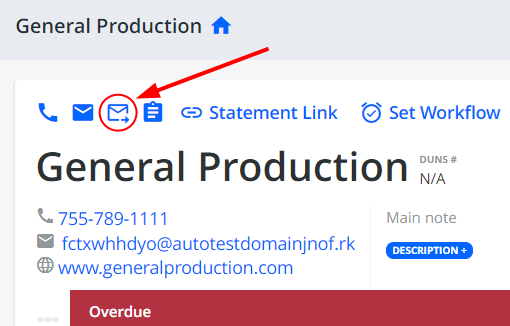
- Go to any customer's Statement page.
- Click on Send Mail in the header (this is customer-level mail).
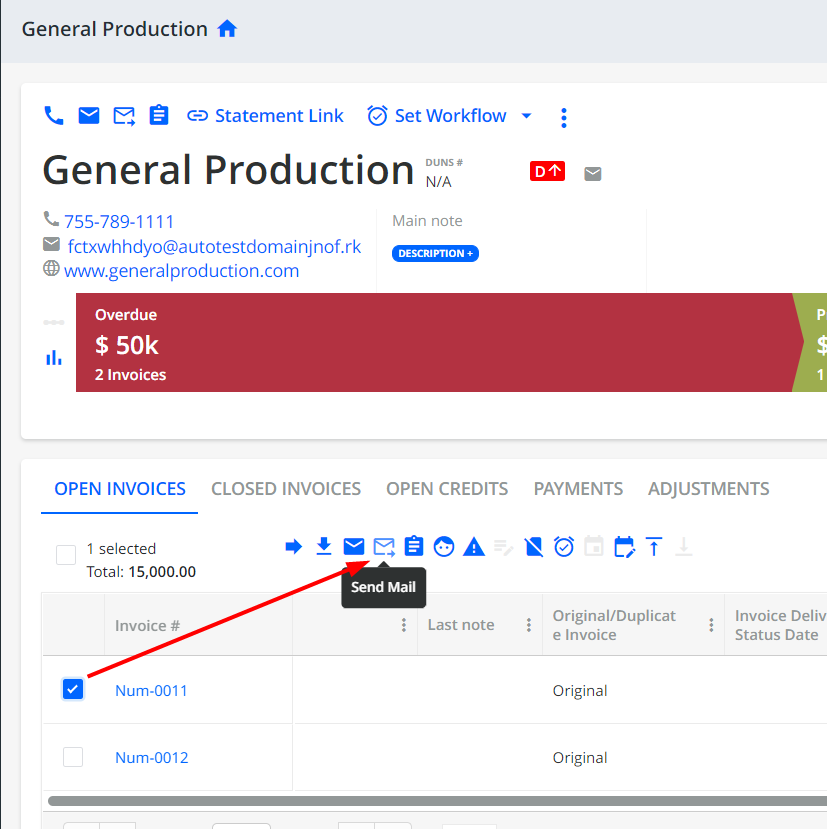
Alternatively, click Send Mail for the selected invoice from the grid (this is invoice-level mail).
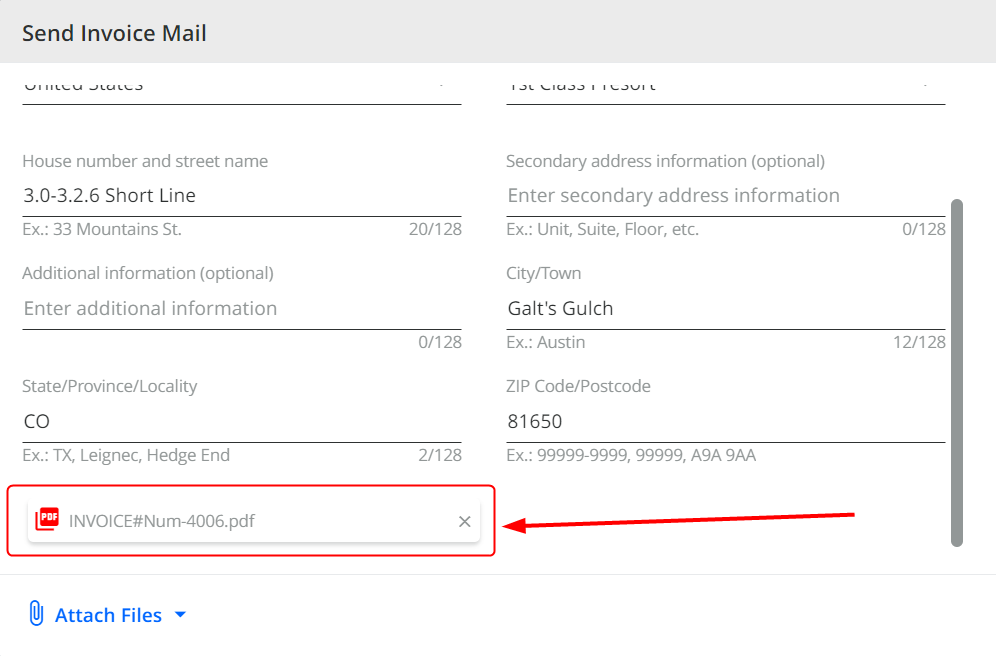
3. In the Send Mail popup, enter the physical address of your own company.
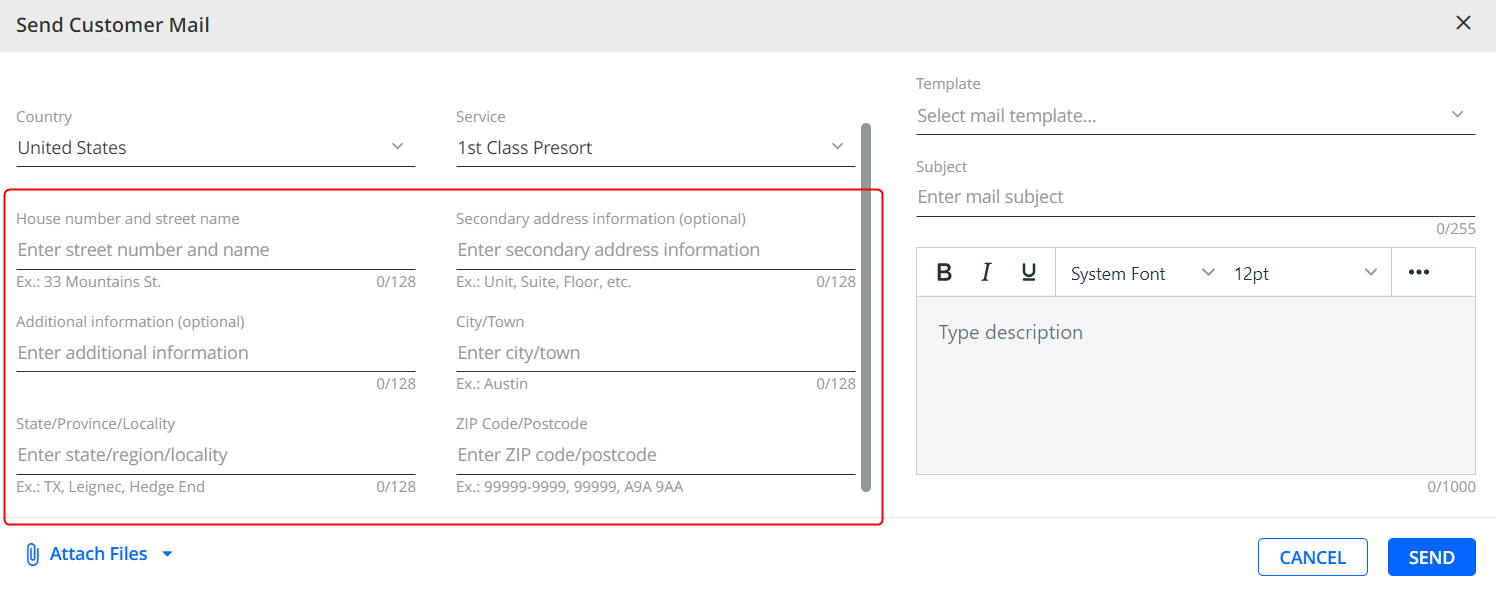
4. For testing purposes (and to reduce the weight of the mail) it is enough to send only one attachment. In this case, you do not have to select the mail template, and your mail will not contain any letter, only the attached file:
- for customer-level mail: click Attach Files > Attach Customer Statement PDF
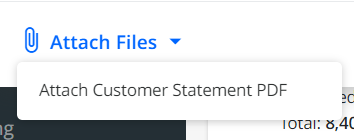
- for invoice-level mail the Invoice PDF is pre-attached
5. If you do not attach any file, the letter is mandatory.
Select the mail template and edit (if needed).
6. Click SEND.
Your test mail will go full delivery cycle. When you receive it you will have an idea of what your customers will get.
