An action to automatically send a customer-level or invoice-level reminder via physical mail can be configured within Workflows or Global Rules. When configuring a rule, select the Send Mail action to pair up with a selected event.
Automated Mail from COLLECTION WORKFLOWS
Go to Workflows | COLLECTION WORKFLOWS.
Select an existing workflow or add a new one by clicking on the Add Workflow button.
On the workflow's page that opens, click on an already existing rule to modify it or add a new one by clicking on the Add Rule button.
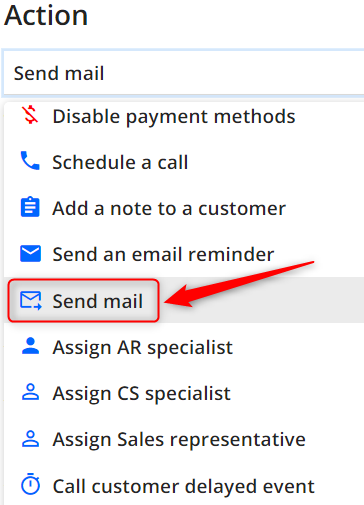
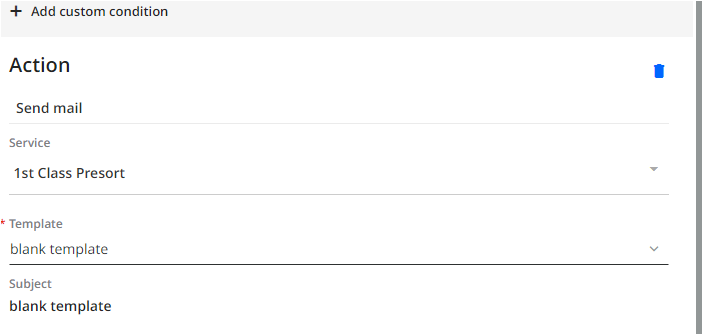
- Select Send Mail in the Action drop down list:
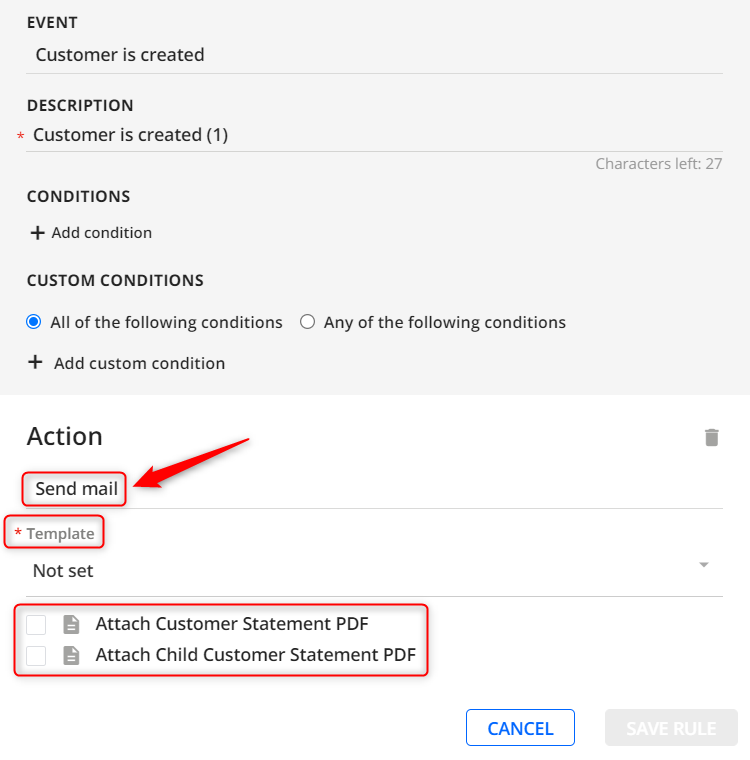
Select a template and the attachments. For more details, see Template and Attachments options descriptions in the Automated mail: detailed overview section.
Add more actions if required.
Click SAVE RULE to confirm the rule (consisting of an event/action).
Review your workflow settings to confirm that the Do not send a reminder if ERP PDF is missing option is enabled.
That ensures the Send mail action/request is only initiated if the invoice PDF is synced and available in YayPay. A check is repeated every 4 hours over the next 3 days (72 hours) if the invoice PDF is missing.
Automated Mail from GLOBAL RULES
Go to Workflows| GLOBAL RULES.
Click on an existing rule to modify it or add a new one by clicking on the Add Rule button.
Select Send Mail in the Action drop down list.
Select a template and the attachments. For more details, see Template and Attachments options descriptions in the in the Automated mail: detailed overview section.
Add more actions if required.
Click SAVE RULE to confirm the rule (consisting of an event/action).
Review your global rules settings to confirm that the Do not send a reminder if ERP PDF is missing option is enabled.
That ensures the Send mail action/request is only initiated if the invoice PDF is synced and available in YayPay. A check is repeated every 4 hours over the next 3 days (72 hours) if the invoice PDF is missing.
Automated Mail: Detailed Overview
After selecting the Send Mail option from the Action list, additional template and attachment related options appear:
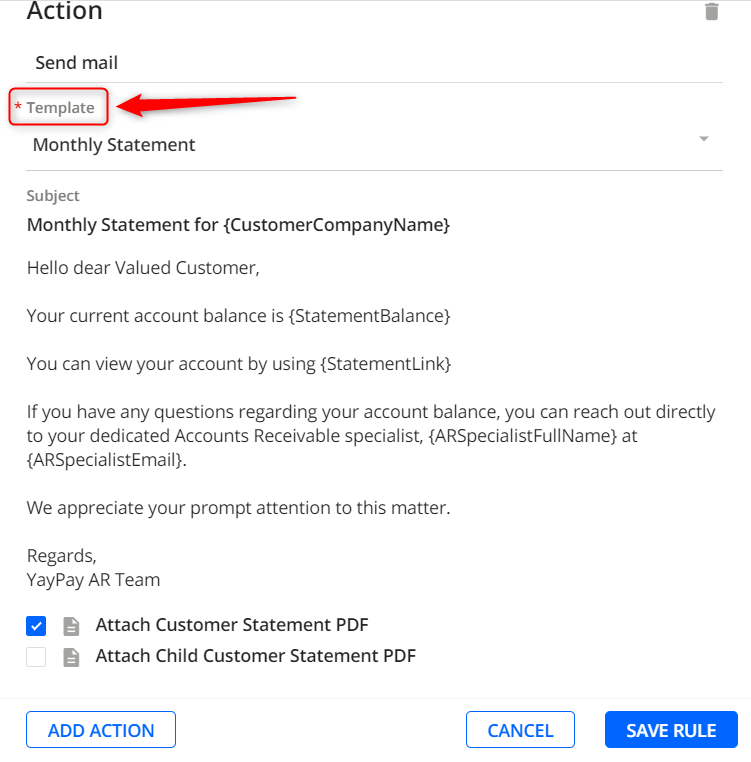
Template:
Select a mail template (predefined letter) from the drop down list.
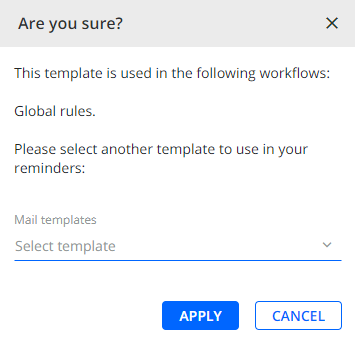
Note When using a template, the following applies:
You can not edit the subject and body of the letter.
It is mandatory to select a template. This means that you will not be able to save the rule without selecting a template.
There are no Recipient and Address fields, as this action will be applied to all customers covered by the rule/workflow.
You can find a set of predefined mail templates by going to Workflows| MAIL TEMPLATES: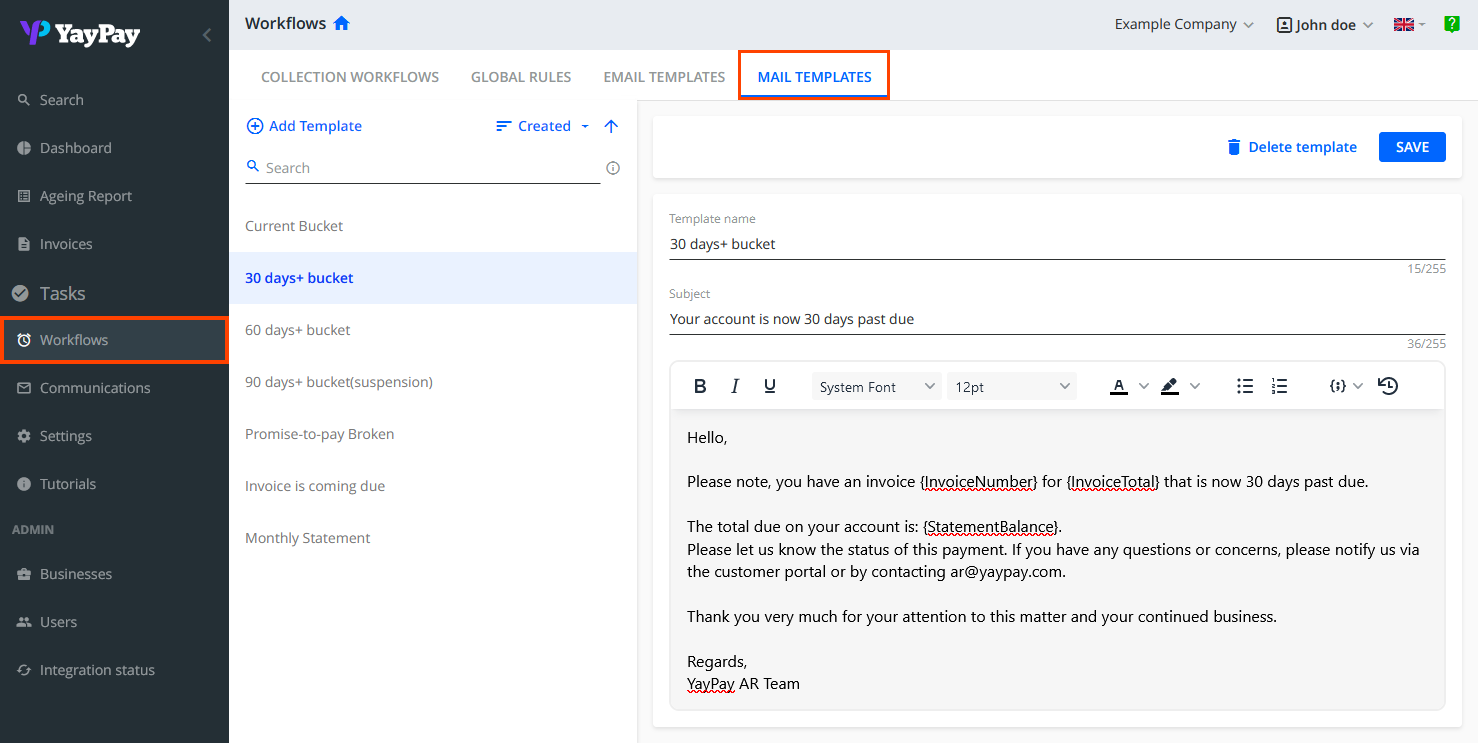
The predefined mail templates include:
Current bucket
30 days+ bucket
60 days+ bucket
90 days+ bucket (suspension)
Invoice is coming due
Monthly Statement
Promise-to-Pay Broken
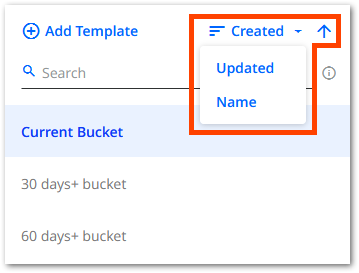
You can use the sorting menu to sort mail templates based on their name, creation date, or update date. The current sorting state influences the order of the templates displayed within features that support mail template selection, e.g. mail reminders, rule engine actions, etc.
In Workflows| MAIL TEMPLATES, you can edit the predefined templates or create your own by clicking on the Add Template button:
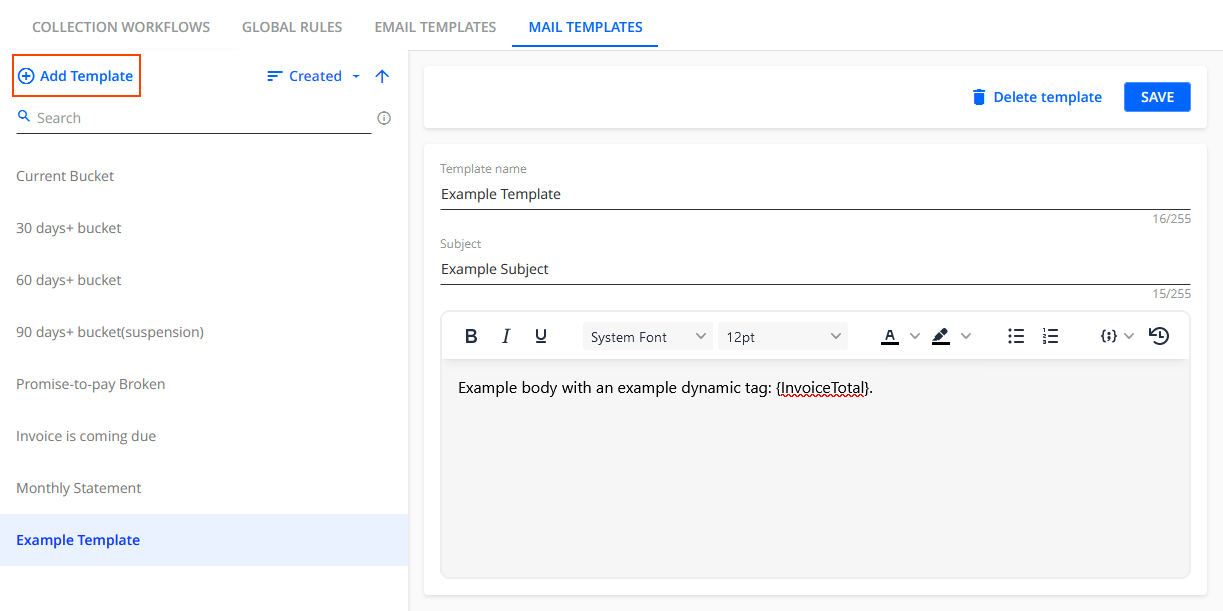
Each template can consist of a maximum of 1 000 characters.
To create your own template:
- Go to Workflows| MAIL TEMPLATES.
- Click on the Add template button.
- Define the template name.
- Define the subject.
- Define the message body. You can plain text and dynamic tags. However, mail templates do not incorporate dynamic tags with links, unlike email templates.
- Click on the SAVE button above the template editor to save the template.
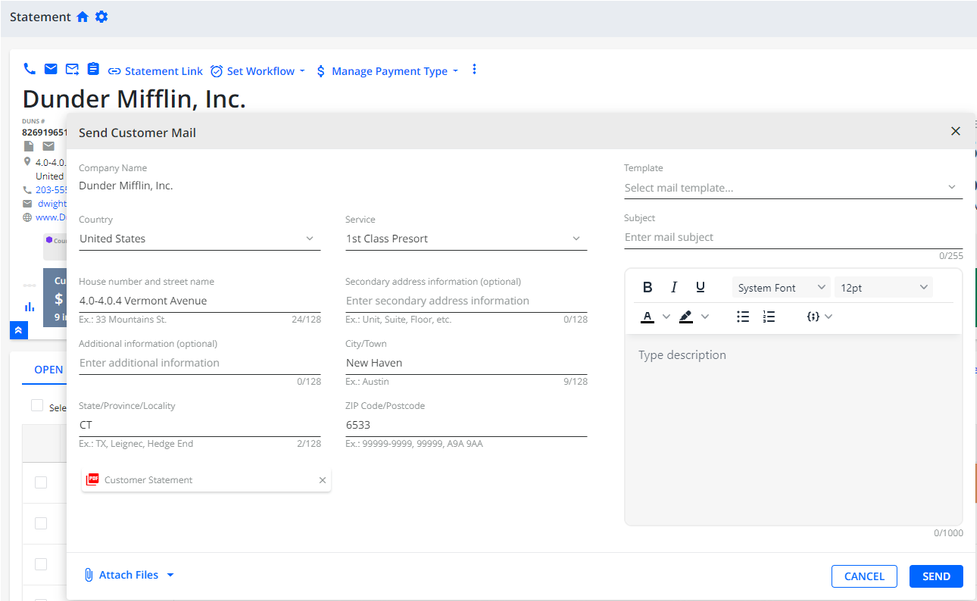
You can use your created template both in the rules and workflows. In addition, you can select it from the Templates list when configuring the Send Mail action e.g. on the Aging Report page.
Attachments:
The individual attachment related options available after selecting the Send Mail option from the Action list, are determined by the selection made in Event when configuring a rule:
- For customer events, the available attachments are Attach Customer Statement PDF and Attach Child Customer Statement PDF:

- For invoice events, the available attachments are Attach PDF of the open invoice that triggered the action, Attach Customer Statement PDF, and Attach Child Customer Statement PDF:

Select the documents you want to attach. It is not mandatory to attach a document.
To find out how to review the sent mail, refer to Outsourced Mail Service: How to review and edit the sent mail
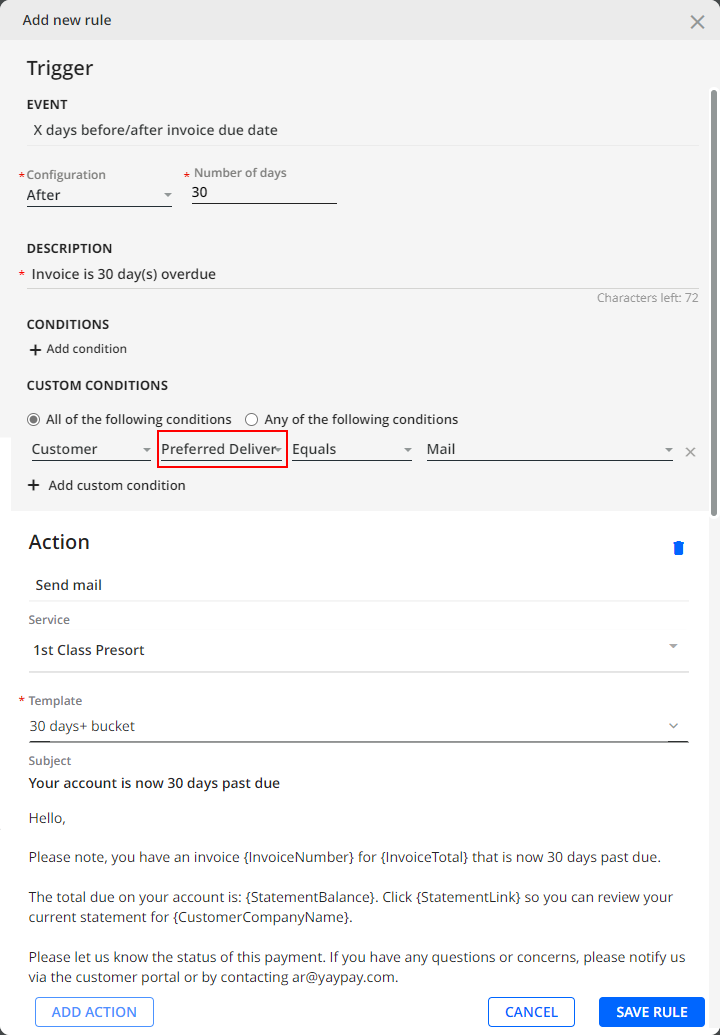
Using Preferred Delivery Method as a Custom Condition
If your account has Outsourced Mail or Chorus Pro enabled, you can assign a Preferred Delivery Method to a customer. This means that the assigned delivery method (email or physical mail) will be used to send invoices to that customer.
Additionally, you can use the Preferred Delivery Method field in Workflow Custom Conditions.
For example, you can create a rule to send a 30 day reminder via physical mail using the Send Mail action and selecting the relevant template and attachments. This way, the reminder will only be sent to customers who prefer physical mail and not to those who have Preferred Delivery Method set to Email:
This approach can also be used to send email reminders to customers who have Preferred Delivery Method set to Email.
