There are 2 ways in which you can retrieve the Payments Report when using YayPay for Payments:
- You can run and generate the Payments Report from YayPay to review all payments made through the platform over a date range, or
- Each night, YayPay will also send the Payments Report that will include all payments processed for the day
The Payments Report file has 3 worksheets:
By Customer - 1st worksheet
This shows all Payments aggregated by each Customer, referencing the Customer Name and Transaction Code obtained from the Payment Processor.
The other fields include Payment Date, Payment Amount, Payment Type, Auth Code, Total number of invoices paid, Total number of credits applied, SKU, Status, and Customer # (which is a customer's ERP ID)

By Invoice - 2nd worksheet
This shows all Payments by each Invoice, referencing the Invoice # and Transaction Code obtained from the Payment Processor.
The other fields include Invoice/Credit creation Date, Payment Date, Payment Amount, Invoice Amount, Payment Type, Auth Code, SKU, Customer name, Customer # (which is a customer's ERP ID), Invoice Applied Payment Amount, Transaction No, and Transaction Type.
The Transaction Type fields returns one of these values:
- Manual – Indicates that an invoice was paid manually, such as through the Statement page.
- Total Due – Indicates that an invoice was paid via auto-pay.
- Scheduled – Indicates that an invoice was paid via a scheduled payment.

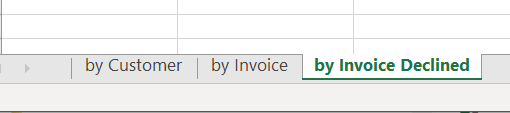
By Invoice Declined - 3rd worksheet
This shows all failed payment attempts returned by the Payment Processor, so you can understand when and why failures have occurred (a similar result can be viewed through the internal Statement Page, under the Payment Activities tab for the Customer)
For customers who use YayPay’s Payments functionality and where the platform does not provide a reverse payment push/integration from YayPay to the ERP, the following options should be explored between the Business users and IT, so as to reduce/avoid manual re-key of the information by users into the ERP:
Assess the worksheet called “By Invoice” and the Payment transaction content within it as a basis to perform/to use as a file import into the ERP
Develop your own reverse integration by calling YayPay’s API /manual transaction endpoint. The specific one can be found here: https://yaypay.helpjuice.com/en_US/44477-api-developer-docs/payment-through-api
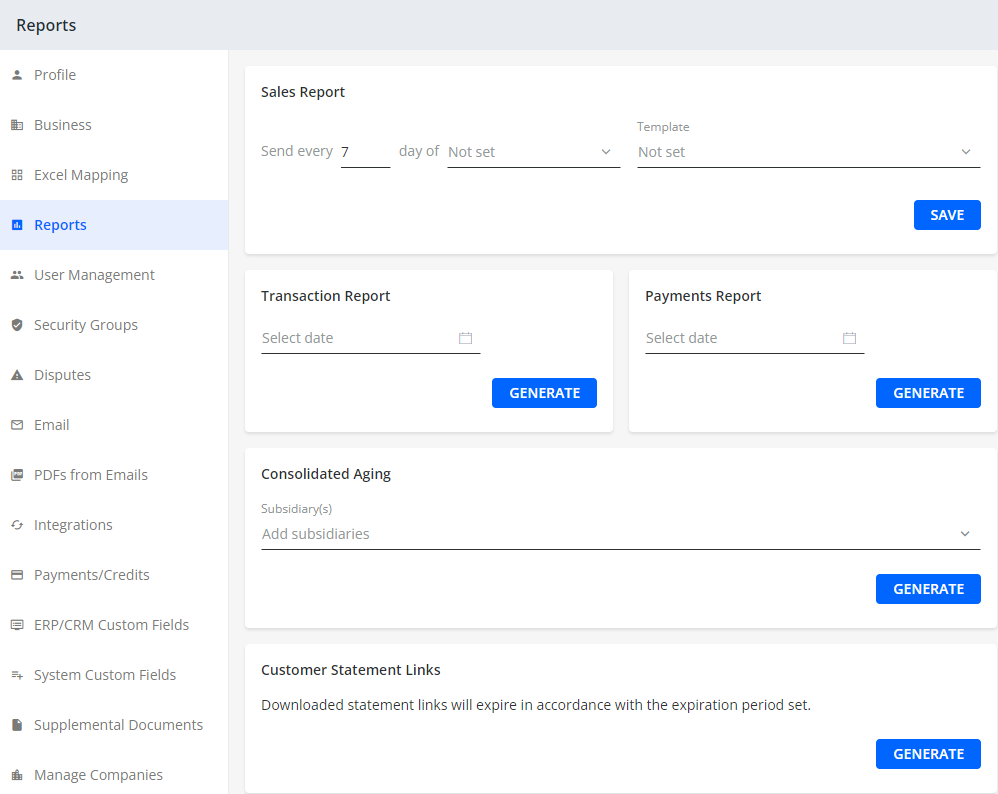
To run and generate the Payments Report, go to the Settings > Report page in YayPay and look for the Payments Report panel.
Specify the date range (Date From/To) and click on the "Generate" button to download the Payments report
Refer also to your AR Mailbox to review the Payments report.
The email address that YayPay uses to send the Report to is the one configured in the 'Main AR email’ field, located in the Settings > Business page of YayPay.
The Subject line of this system-generated email from YayPay should read “Payment report_08/30/2019” and the Email Sender is no-reply@yaypay.com. You may need to whitelist or look for the email in your spam folder for the first time.
If the Business Settings “Email – Fetch all emails” is enabled, this email will also be synced from your AR Mailbox into YayPay. Look at your Communications menu/page and search for the Email with the Subject "Payment report_" You will find it under the SENT tab, like this:

