You can access the Invoice page by clicking on an invoice number on the Statement page or on the Customer Portal.
here are four possible Invoice PDF layouts which depend on your Invoice/Invoice line data in the system. These include:
- YayPay's default invoice look and feel,
- YayPay's generated invoice PDF embedded into the page,
- Your ERP invoice PDF embedded into the page,
- Customized invoice PDF template created within YayPay using a third-party tool.
Display the Default YayPay Invoice Page (Look and Feel)
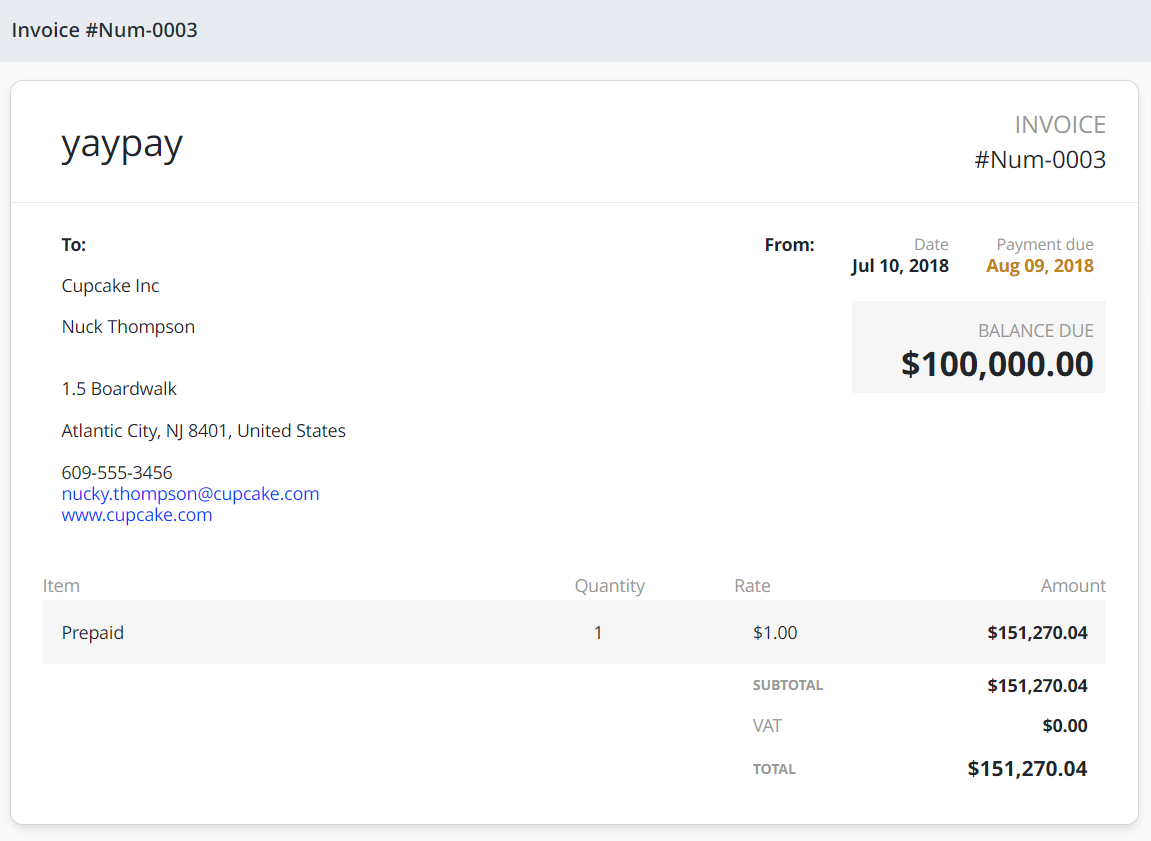
This is the default look, in which the Invoice page reflects the Invoice metadata available in the platform. The page will look similar to this:

Configurable Settings to alter the display
In addition, there are several checkboxes that you can enable to alter the display of the Invoice Page. These settings are found under the Settings > Business page:
Show Line items with 0 amounts
Display the YayPay-generated Invoice PDF (embedded into the page)
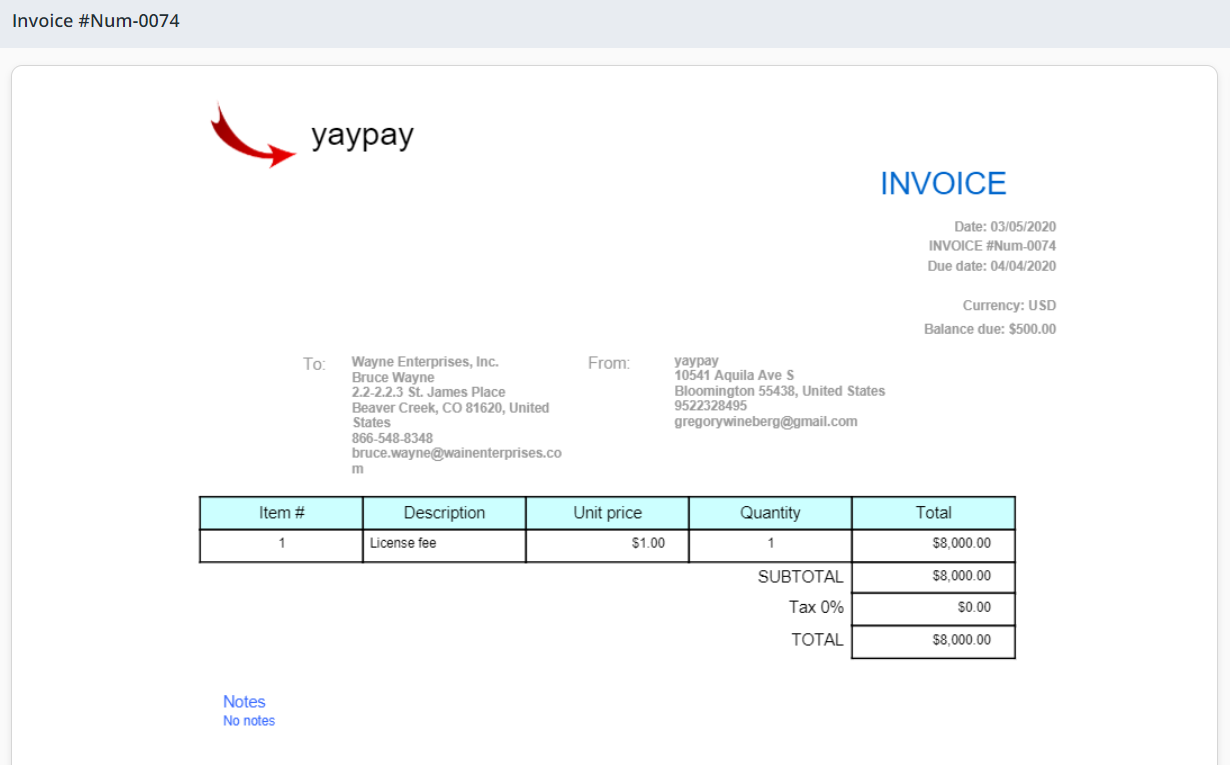
YayPay also generates its own Invoice PDF based on the available invoice metadata the platform has from your ERP.
The look and feel of YayPay's generated Invoice PDF looks as follows (this is not configurable except for the display of your Company logo picture on the top left of the page if one is included in the Settings > Business page).

Display the ERP Invoice PDF File
After importing your ERP Invoice PDF file into YayPay via FTP server or API, you can enable a setting to embed and display the imported ERP Invoice PDF in the Invoice page. This will replace the default YayPay look and feel shown in the Display the YayPay-generated Invoice Template (embedded into the page) section.
To do so, go to Settings | Business and check Invoice page - Embed invoice PDF.
As a result, YayPay will embed and display your ERP Invoice PDF design imported from your ERP.
Example
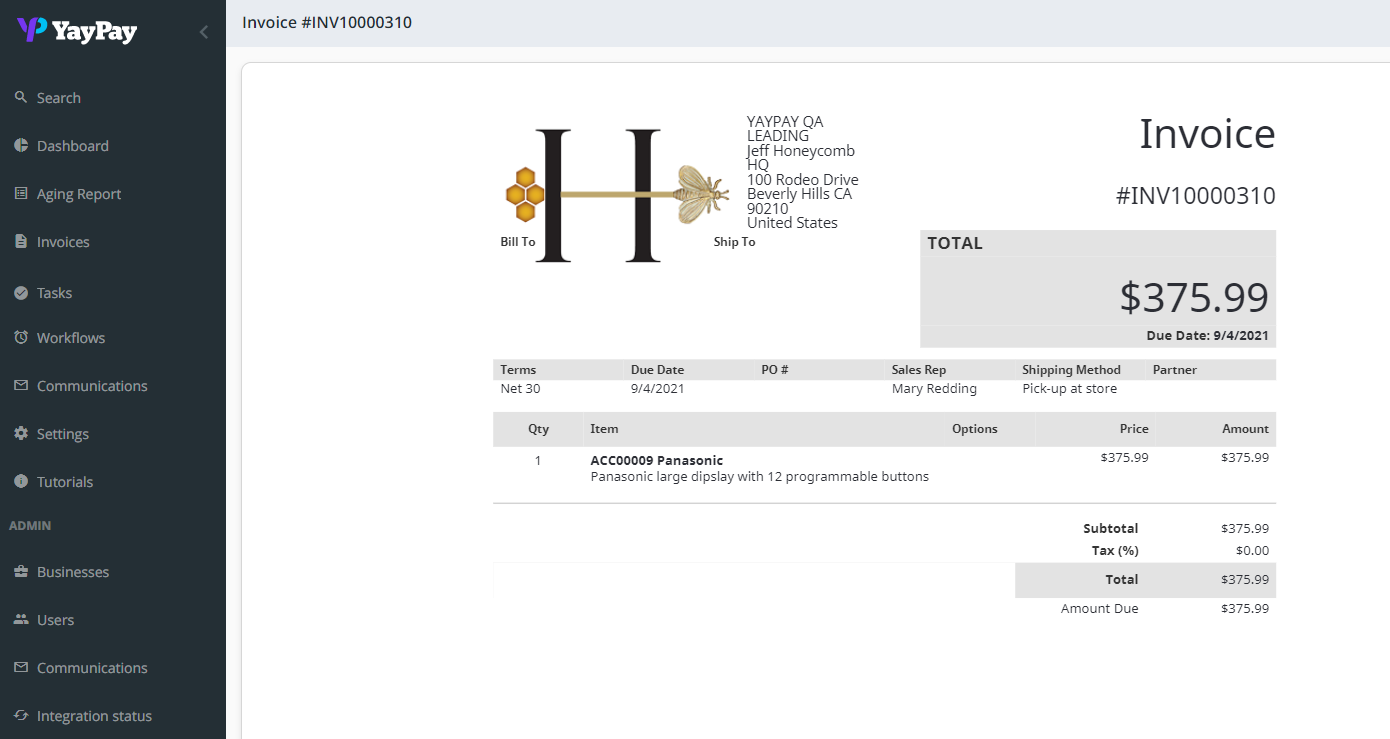
Once synced into YayPay, your ERP invoice PDF will be embedded in the platform and displayed when you click on the invoice number on the Invoice page:
Create and Upload a Custom Invoice Template
Another option is to design a new, custom template in YayPay from scratch.
To create a custom invoice template and to get a file in the correct format, please contact support@yaypay.com or your YayPay Account Representative.
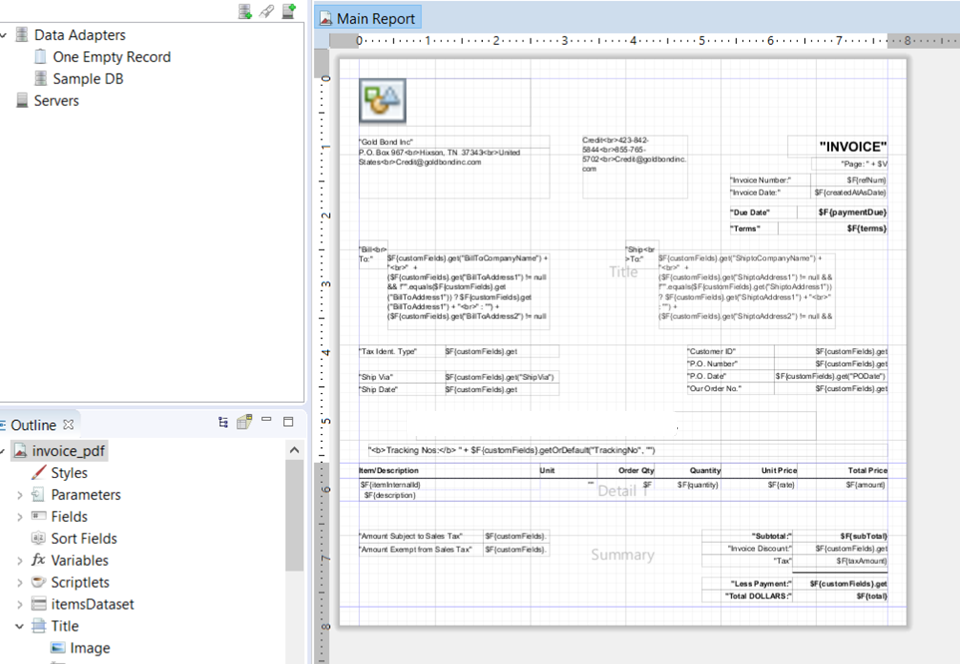
A third-party markup tool will be used to design the layout and available fields in order for the custom invoice PDF to look as close as possible to your ERP invoice template, for example:

After creating the custom template:
- Upload the template file in the JRXML format to YayPay. This is done on the Settings | Business page:

Click SAVE CHANGES to confirm the file upload.
- After uploading the custom template, check the following check boxes in Settings | Business:
As a result, when you click on an invoice number, the invoice will open using the layout from the uploaded custom template..
Once a template is uploaded, the settings will reflect it:

Click Download Current Template to download the template file, for example to review or edit it. If you want to delete the current template or upload a different one, click on REMOVE TEMPLATE.
