This article explains how to exclude specific data from the synchronization process with Sage Intacct®.
Excluding Invoice Items during the Sync Process
When syncing invoices from Sage Intacct®, you can exclude associated invoice items from the sync process.
To do so:
- In YayPay, navigate to Settings | Integrations.

-
On the Connector Settings panel, check Do not allow to sync items.
By default, it is unchecked and the connector syncs both the invoice and its invoice items for which the invoice requests payment. If you later update an invoice or its invoice items in Sage Intacct®, these updates will be also synced to YayPay.
If checked, the connector syncs invoices from Sage Intacct® without the associated invoice items for which the invoice requests payment. When viewing invoices synced without items in YayPay, you will only see the balance due without any items listed. If you later update an invoice in Sage Intacct®, YayPay will only sync invoice changes but not changes made to the invoice items.
Click SAVE CHANGES and then Sync in the top-right corner of the panel for the changes to apply.
Filtering Invoices by Location and Department in YayPay
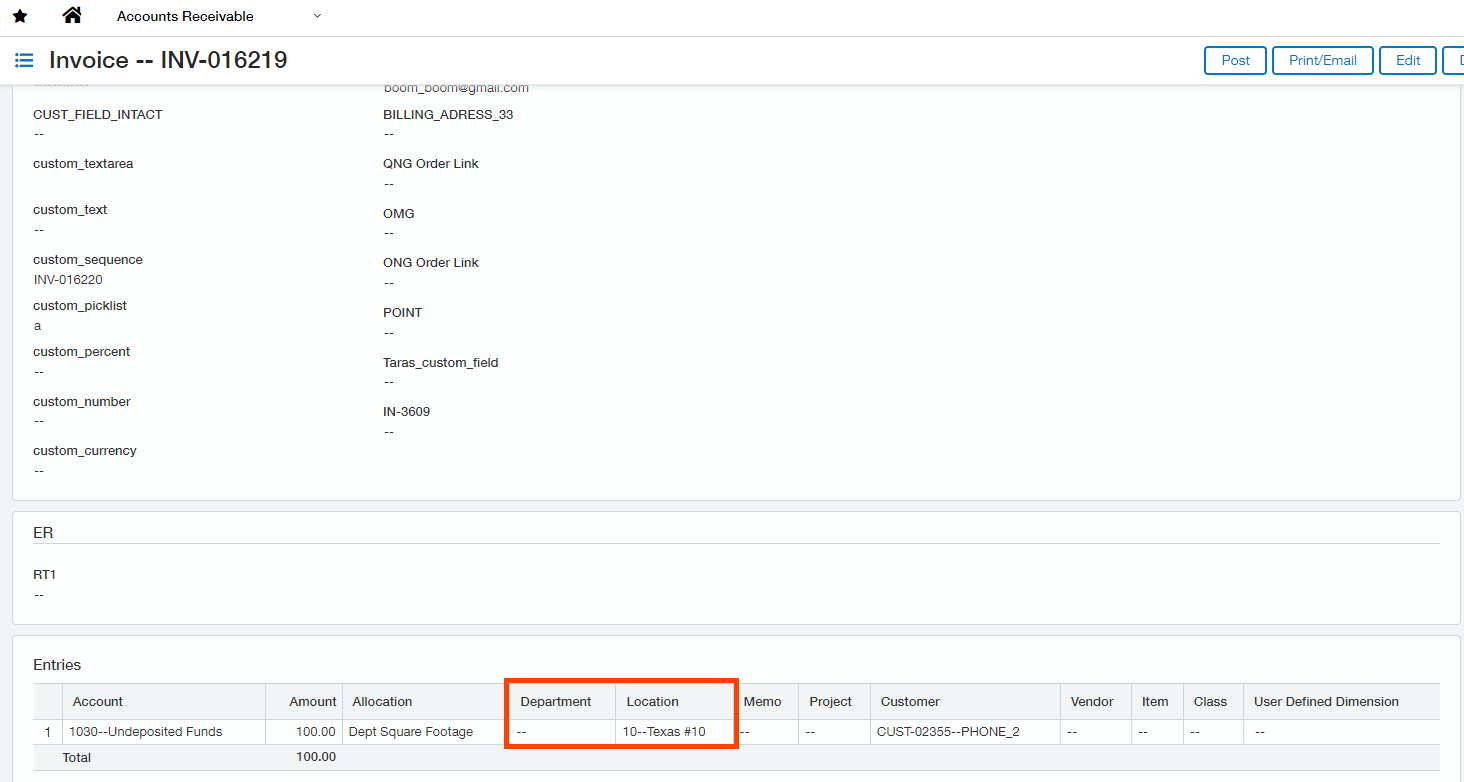
Locations and departments are part of the data linked to invoice items in Sage Intacct®. Consequently, if you check Do not allow to sync items, the connector will not synchronize the locations and departments.

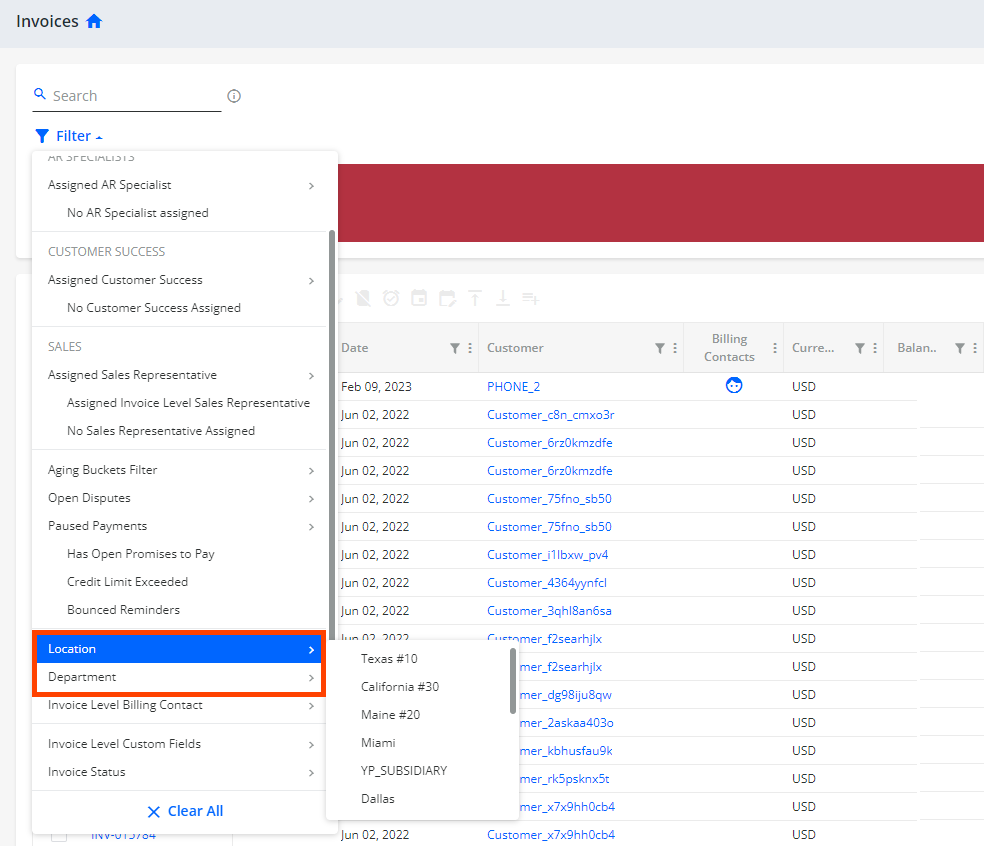
As a result, you will not be able to filter invoices by Location or Department on the Invoices page.

Excluding Contacts from the Sync
When syncing data from Sage Intacct®, you can exclude customer-level and invoice-level contacts from the sync process.
To do so:
In YayPay, navigate to Settings | Integrations.

-
On the Connector Settings panel, check Do not sync contacts.
By default, it is unchecked and all the contacts are synchronized.
If checked, the connector excludes customer-level and invoice-level contacts from the sync process.
This means that the connector will not sync contacts from the main customer page or the contact list at the customer level. Similarly, it will not sync any contacts at the invoice-level, including those that can be defined in the custom field. This applies to new or modified ERP contacts, i.e. previously synced contacts remain unchanged. Fill in the other fields as described in the Commence the Sync between Intacct and YayPay section.
Click SAVE CHANGES and then Sync in the top-right corner of the panel for the changes to apply.
