The article represents a part of the Business Settings page, the rest of the info you can find here:
Business Settings (General information section) describes the General info section and all the Function settings represented with checkboxes
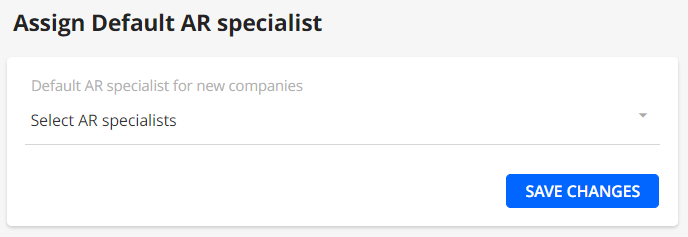
Assign Default AR Specialist
This section allows setting an AR Specialist user which is to be assigned automatically to a new company added to YayPay with no AR assigned.
To set an Ar, choose a user in the dropdown and click SAVE. the setting will be applied only for future cases, existing companies with no AR will remain, to cover those you can use Excel Mapping.
Logo
Select and upload your logo image file.
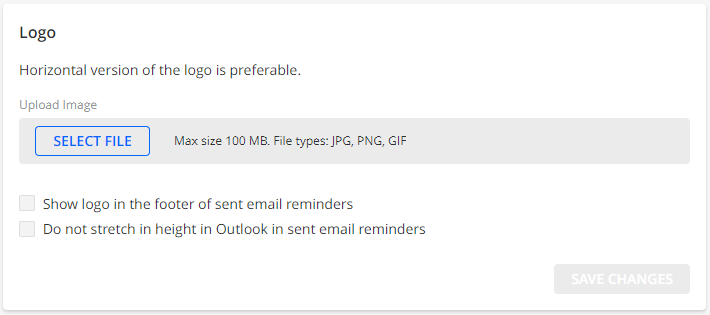
Click on "Show logo in the footer of sent email reminders" for the logo to also appear in your Email Reminders within your Collection Workflow Actions.
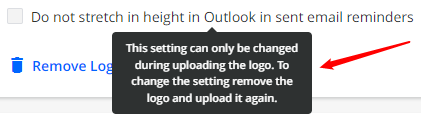
Click on "Do not stretch in height in Outlook in sent email reminders" for your logo to be correctly displayed it in Microsoft Outlook.
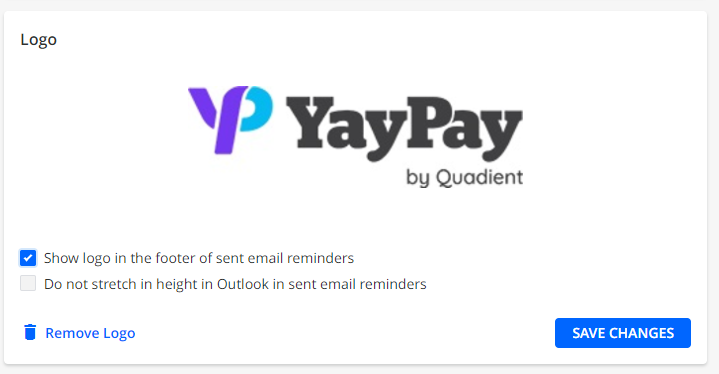
Note: this option can be selected only during the initial uploading of the image. After the image has been saved, the only way to enable this setting is to remove the logo and upload it once again:
Click "SAVE CHANGES".
Your Company Logo will appear in the following areas of the application:
- Customer Portal
- Customer Statement PDF
- Email Reminders sent from Workflows or manually
- Payment Confirmation pages
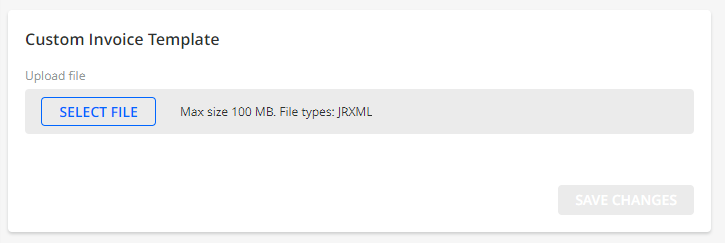
Custom invoice template
In this section, you can add and remove your custom invoice template.
If you create and upload a custom invoice template, it becomes the default Invoice look-and-feel/layout displayed in YayPay. This also applies to situations where the Invoice template/PDF is not synced from the ERP, or where the Invoice PDF file has not been sent to a PDF related Mailbox that YayPay connects to (for more information, see the PDFs from Emails article).
To get a file in the correct format, please send a PDF file of your invoice template to support@yaypay.com
To learn how to create a custom invoice template, follow the steps described in the Create and Upload a Custom Invoice Template in YayPay article.
Custom Statement template
In this section, you can add and remove your custom Statement template.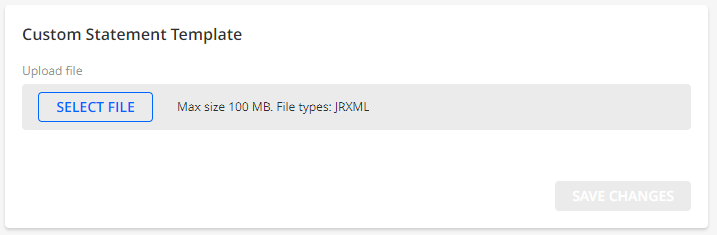
To create a custom invoice template and to get a file in the correct format, please contact support@yaypay.com or your YayPay Account Representative.
A third-party markup tool will be used to design the layout and available fields in order for the custom invoice PDF to look similar to your current version, for example:
Once uploaded, it will become the default layout in YayPay, replacing the standard template provided with the platform. For more details about the standard template, see the Customer Statement PDF article.
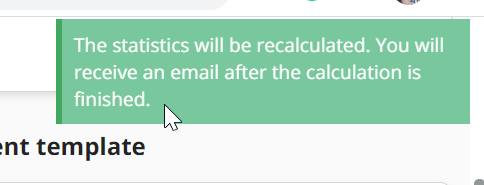
Request Statistic calculation
If you need to update statistic info on the dashboard you can use this section from the settings.

After you click on Request you should receive the following message and the data on your dashboard is updated in a few minutes.
Download missed PDFs report
https://yaypay.helpjuice.com/105705-reports/yaypay-reports#missed-invoice-pdf-report

Single Sign-On
You can find set up info here https://yaypay.helpjuice.com/44476-account-settings/single-sign-on
Invoice Level Status Configuration
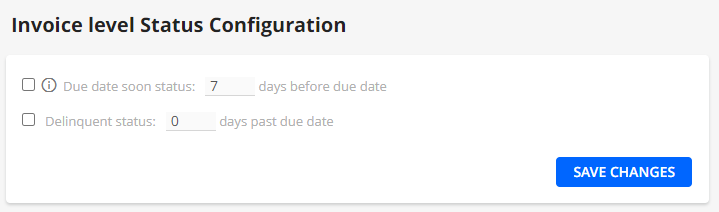
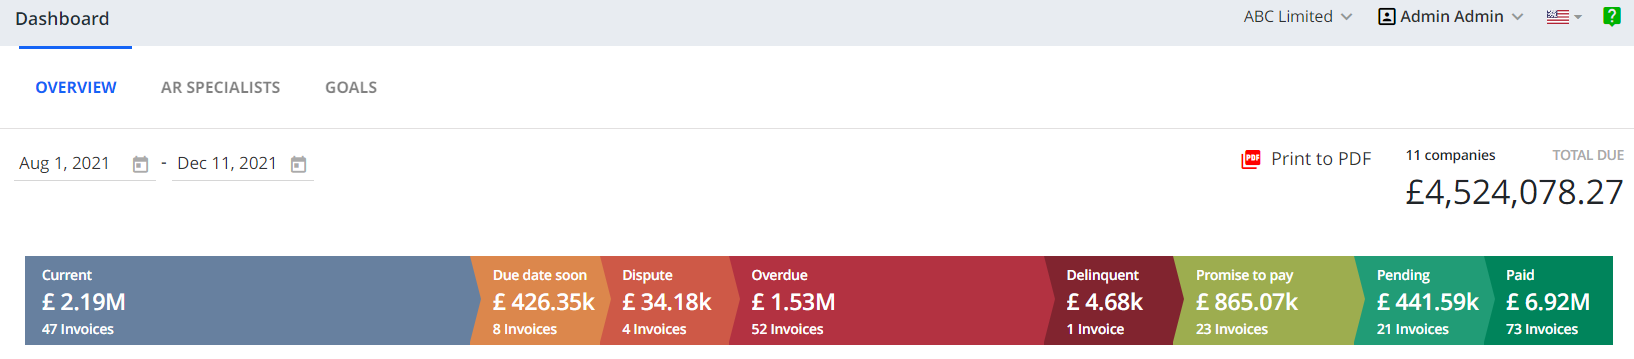
If enabled, a few additional buckets are added to the pipelines on the Dashboard and Invoices Page. The buckets contain the invoices with the corresponding setting in this section.
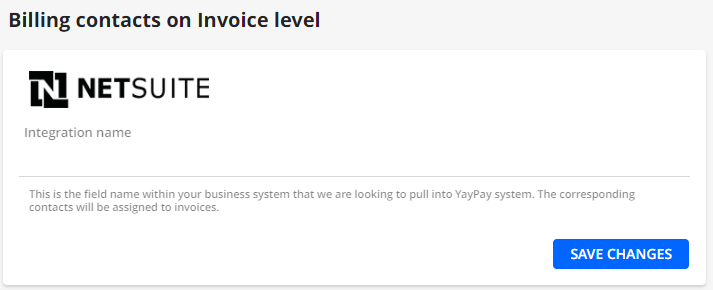
Billing contacts on the Invoice level
At the Invoice level, billing contacts are not managed within the YayPay system with the current implementation, so in order to use them, you should have either of the ERPs connected: NetSuite, Intacct, QuickBooks.

Since you have these types of integration set up you will have a correspondent field in this section
You should populate the field with the name of the field from your ERP system:
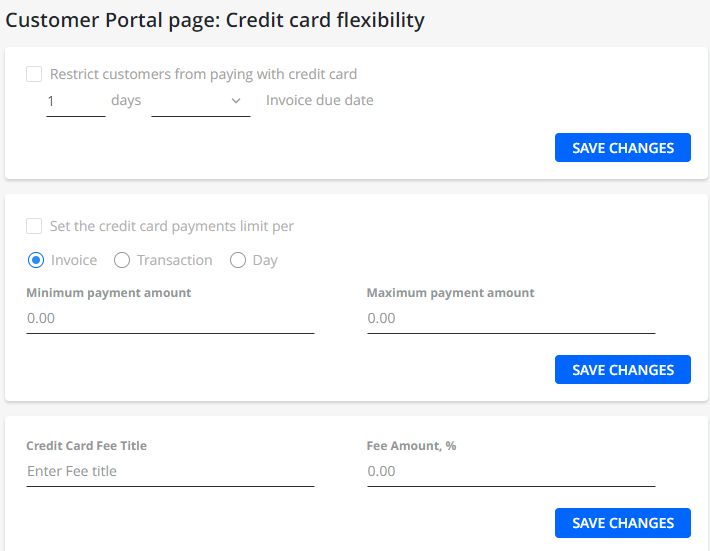
Customer Portal page: Credit Card Flexibility
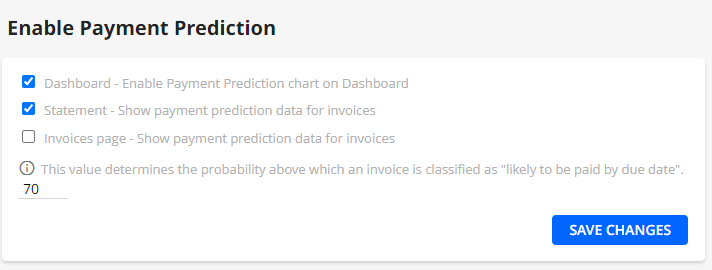
Enable Payment Prediction
Machine Learning Payment Scoring

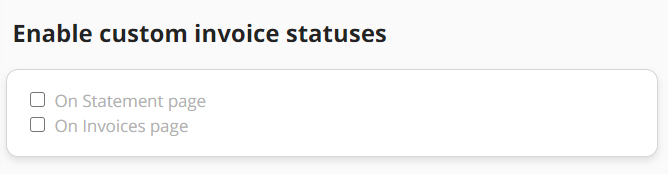
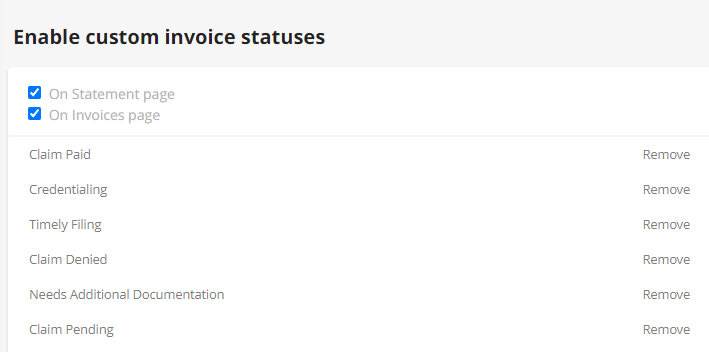
Enable custom invoice statuses
You can adjust where the statuses are displayed: On the Statement Page, on the Invoice page or both.
Slightly different to Invoice level System Custom Fields but similar in concept (refer to Invoice level fields), you can configure and maintain a list of pre-defined values for custom Invoice status that are specific to your needs, to reflect how you wish to tag invoices with additional statues:
These custom statuses are displayed on the Statement page or Invoices page to help with the identification of invoices and filtering for a specific status when required. This is an example of where Custom Invoice statuses appear on the Statement page:
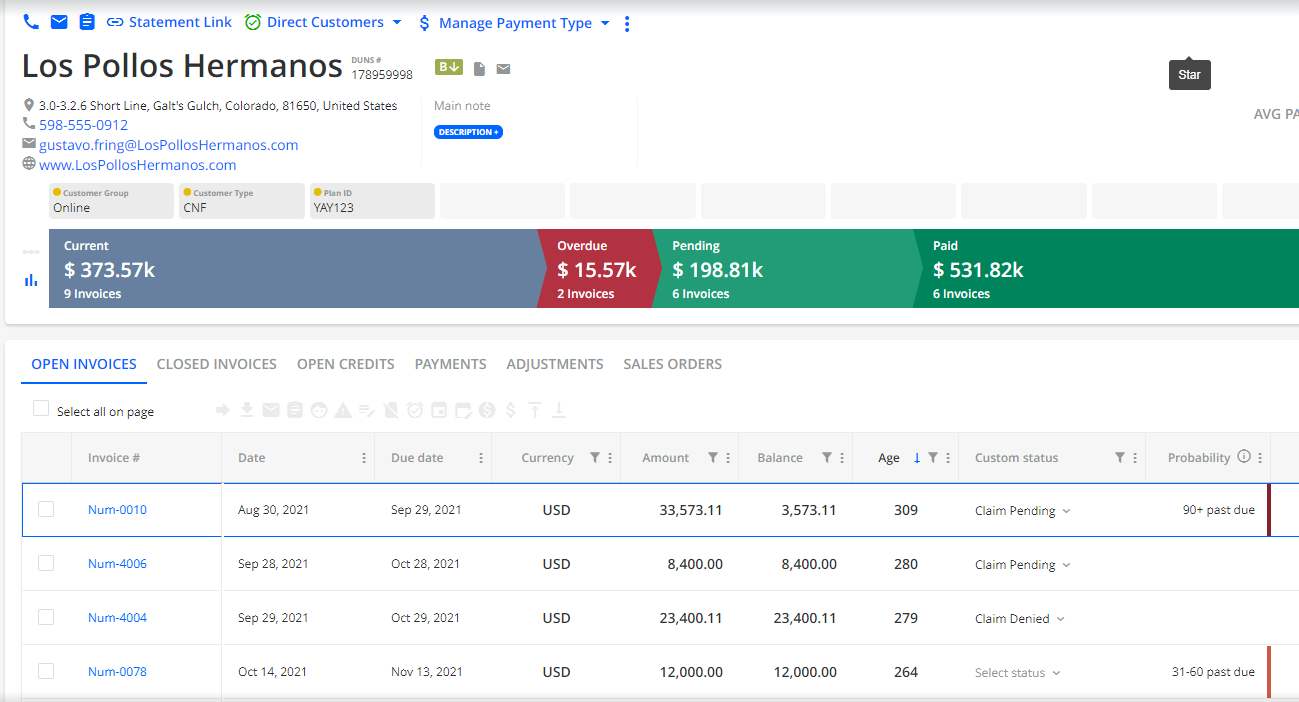
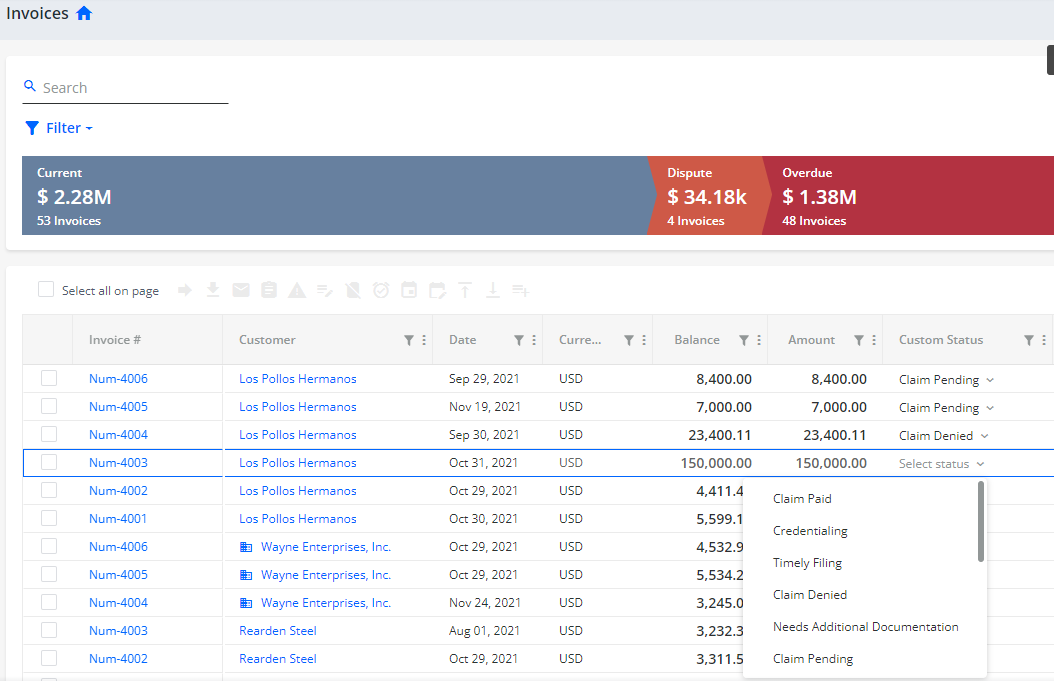
And this example shows the Custom Invoice status included as a column shown on the Invoices page, listing all Open Invoices across different customers:
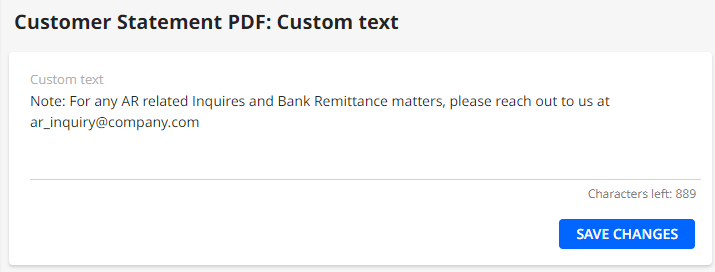
Customer Statement PDF: Custom text
The Customer Statement PDF: Custom Text setting allows you to capture a string of free text that will automatically be added to the (standard) Statement PDF (Customer Statement PDF).
Example:
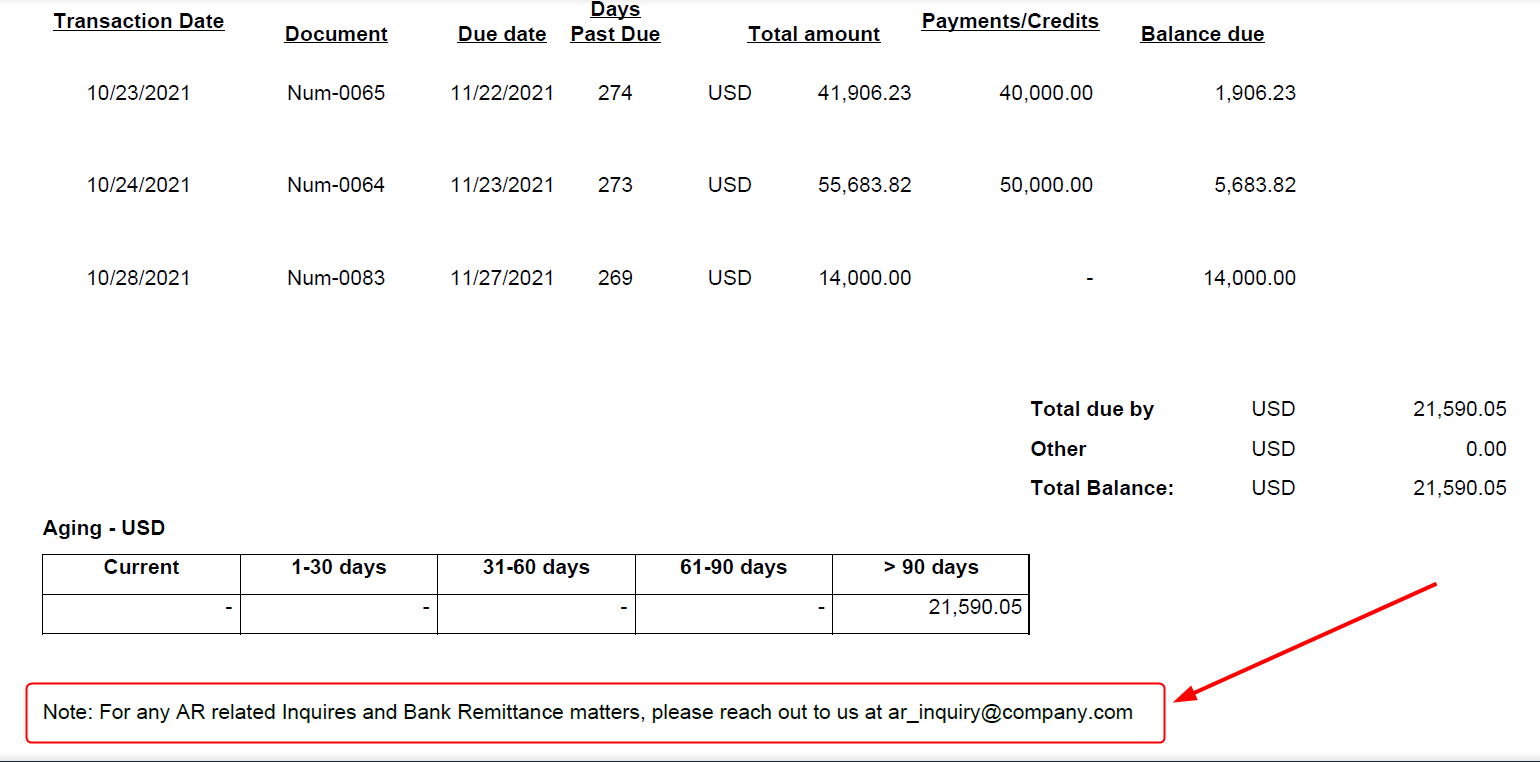
Your custom text will be included in the Customer Statement PDF:
Payments
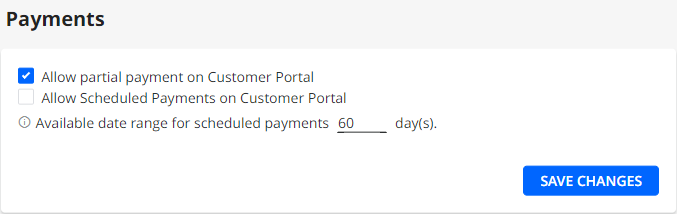
In this section, you can set additional payment options, i.e. allowing you to make partial payments or schedule payments on the Customer Portal.
-
Allow partial payment on Customer Portal – Enables your end customers to make partial payments on invoices through YayPay’s Customer Portal. Refer to Payments Settings for more information.
Making a full payment on Invoices is the default behavior of the Customer Portal.
-
Allow Scheduled Payments on Customer Portal – Enables your end customers to schedule one-time payments for a specific day in the future through YayPay’s Customer Portal.
To schedule a one-time payment, follow the same steps as for a full/partial payment, i.e.:
For Customer Portal, this function is disabled by default.
Once enabled, you'll see an additional Scheduled Payment Date column displayed on the Customer Portal grid that shows the scheduled payment date of an invoice. You can sort the column as well as filter invoices with scheduled payments.Select the invoice you want to pay.
-
Click either on the Pay or Partial Pay.
This opens the respective dialog where you can schedule the payment.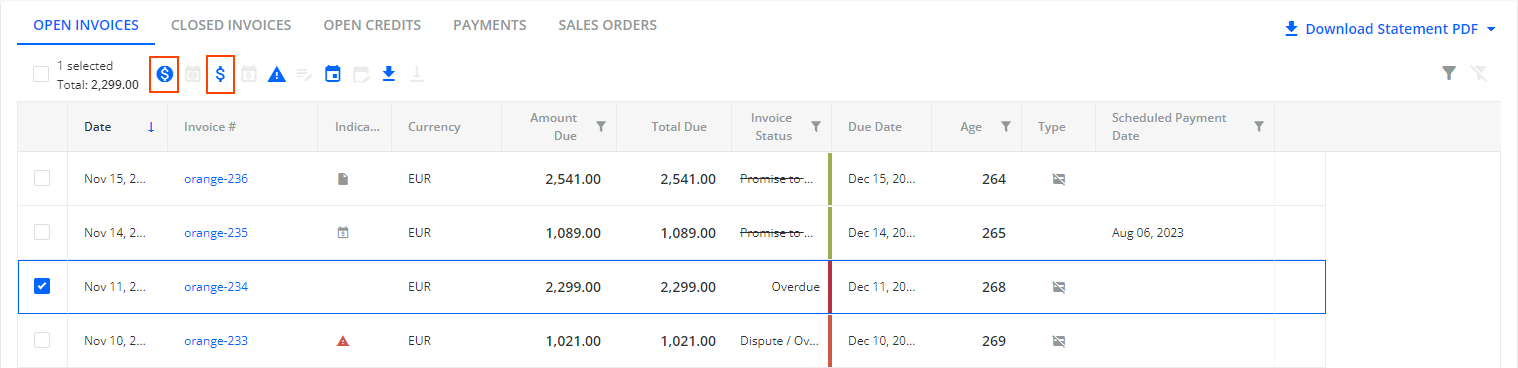
Available payment methods for scheduled payments depend on the current business settings, i.e. on the selected payment providers and their abilities to process payments. For example, if you set a credit card limit it also impacts scheduled payments and their execution.
Once a full/partial payment is scheduled, you can manage it by clicking on Manage Scheduled Payments.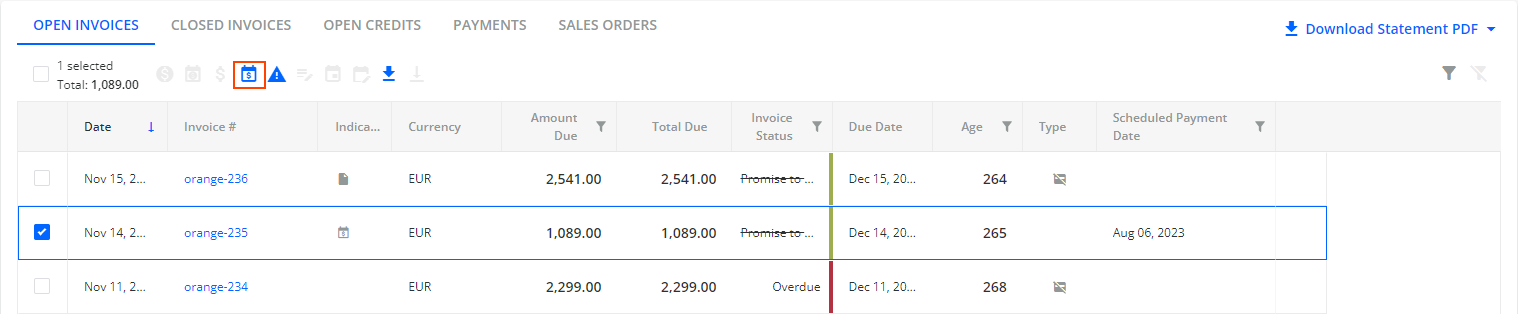
This opens the Manage Scheduled Payment dialog where you can see the scheduled payment's details and edit some of the settings.
For more details, see the Scheduled Payments article.
Available date range for scheduled payments _ day(s). – Sets the date range available in the date picker when scheduling a payment. By default, the date picker shows 60 days range which is also the maximum, i.e. it is not possible to schedule a payment at a later date.
This settings affects the date picker date range when scheduling a payment on both the Statement page and Customer Portal.
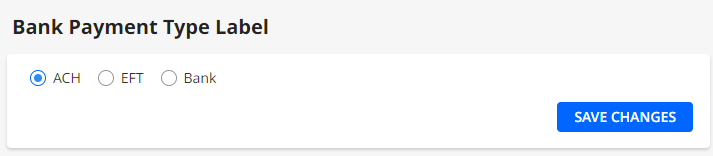
Bank Payment Type Label
Bank Payments are marked as ACH throughout the system by default. You can change the name correspondently to your region or business needs.
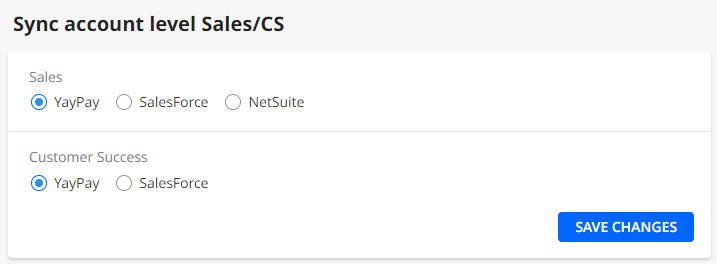
Sync account level Sales/CS
This block defines what system YayPay should expect the Sales Specialists/Reps and Customer Success Specialists to be synced from:
- YayPay - Users are maintained and updated directly in YayPay.
- Salesforce - Users will be synced through the Salesforce - YayPay Integration.
- NetSuite - Users will be synced from Oracle Netsuite.
Quadient's/YayPay's Customer Success Manager
To get the contact information of your YayPay Customer Success Manager, refer to Your Customer Success Manager.
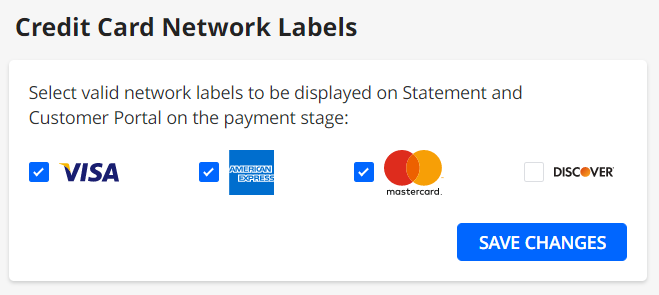
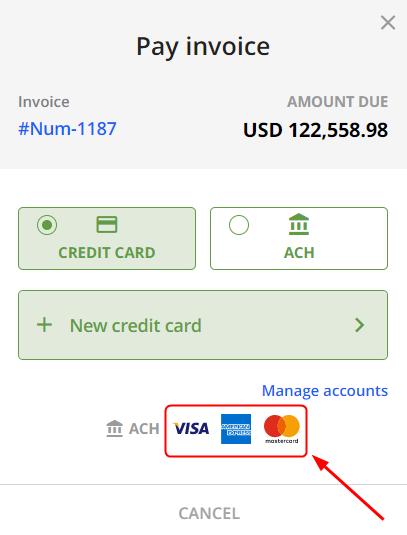
Credit Card Network Labels
In this section, you can select labels for credit card processors to be displayed on the Statement page and Customer Portal during the payment stage:
Statement Link Expiration
To ensure the customer portal security, any statement link (also known as a customer portal link) generated on the Statement page expires in 365 days.
You can reduce the expiration period using the Statement Link Expiration setting: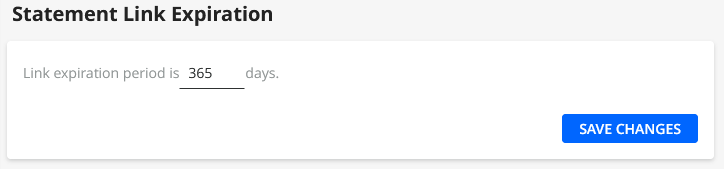 Keep in mind the following when changing the expiration period:
- You can only use a value between 2 and 365 days.
- If you reduce the expiration period, YayPay deactivates any statement links older than the new expiration period.
- The defined expiration period starts counting down from the moment you create a statement link by doing one of the following:
- Clicking on the Statement Link button on the Statement page.
- Sending an email containing the {StatementLink} dynamic tag.
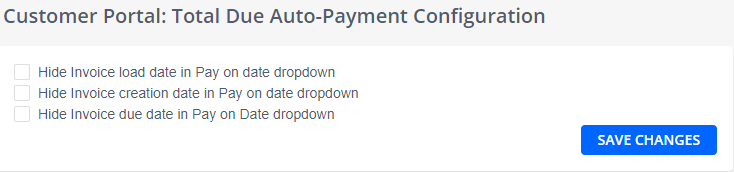
Customer Portal: Total Due Auto-Payment Configuration
In this section, you can select which options you want to hide from the Pay on Day drop down on the Customer Portal web page. 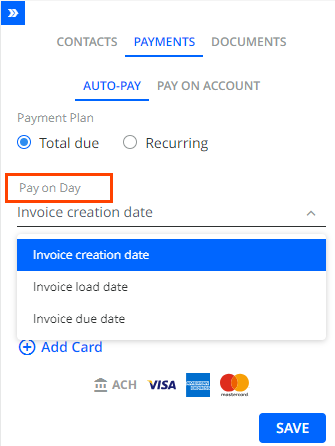
To do this, check the individual check boxes of the options you want to hide and click SAVE CHANGES.